
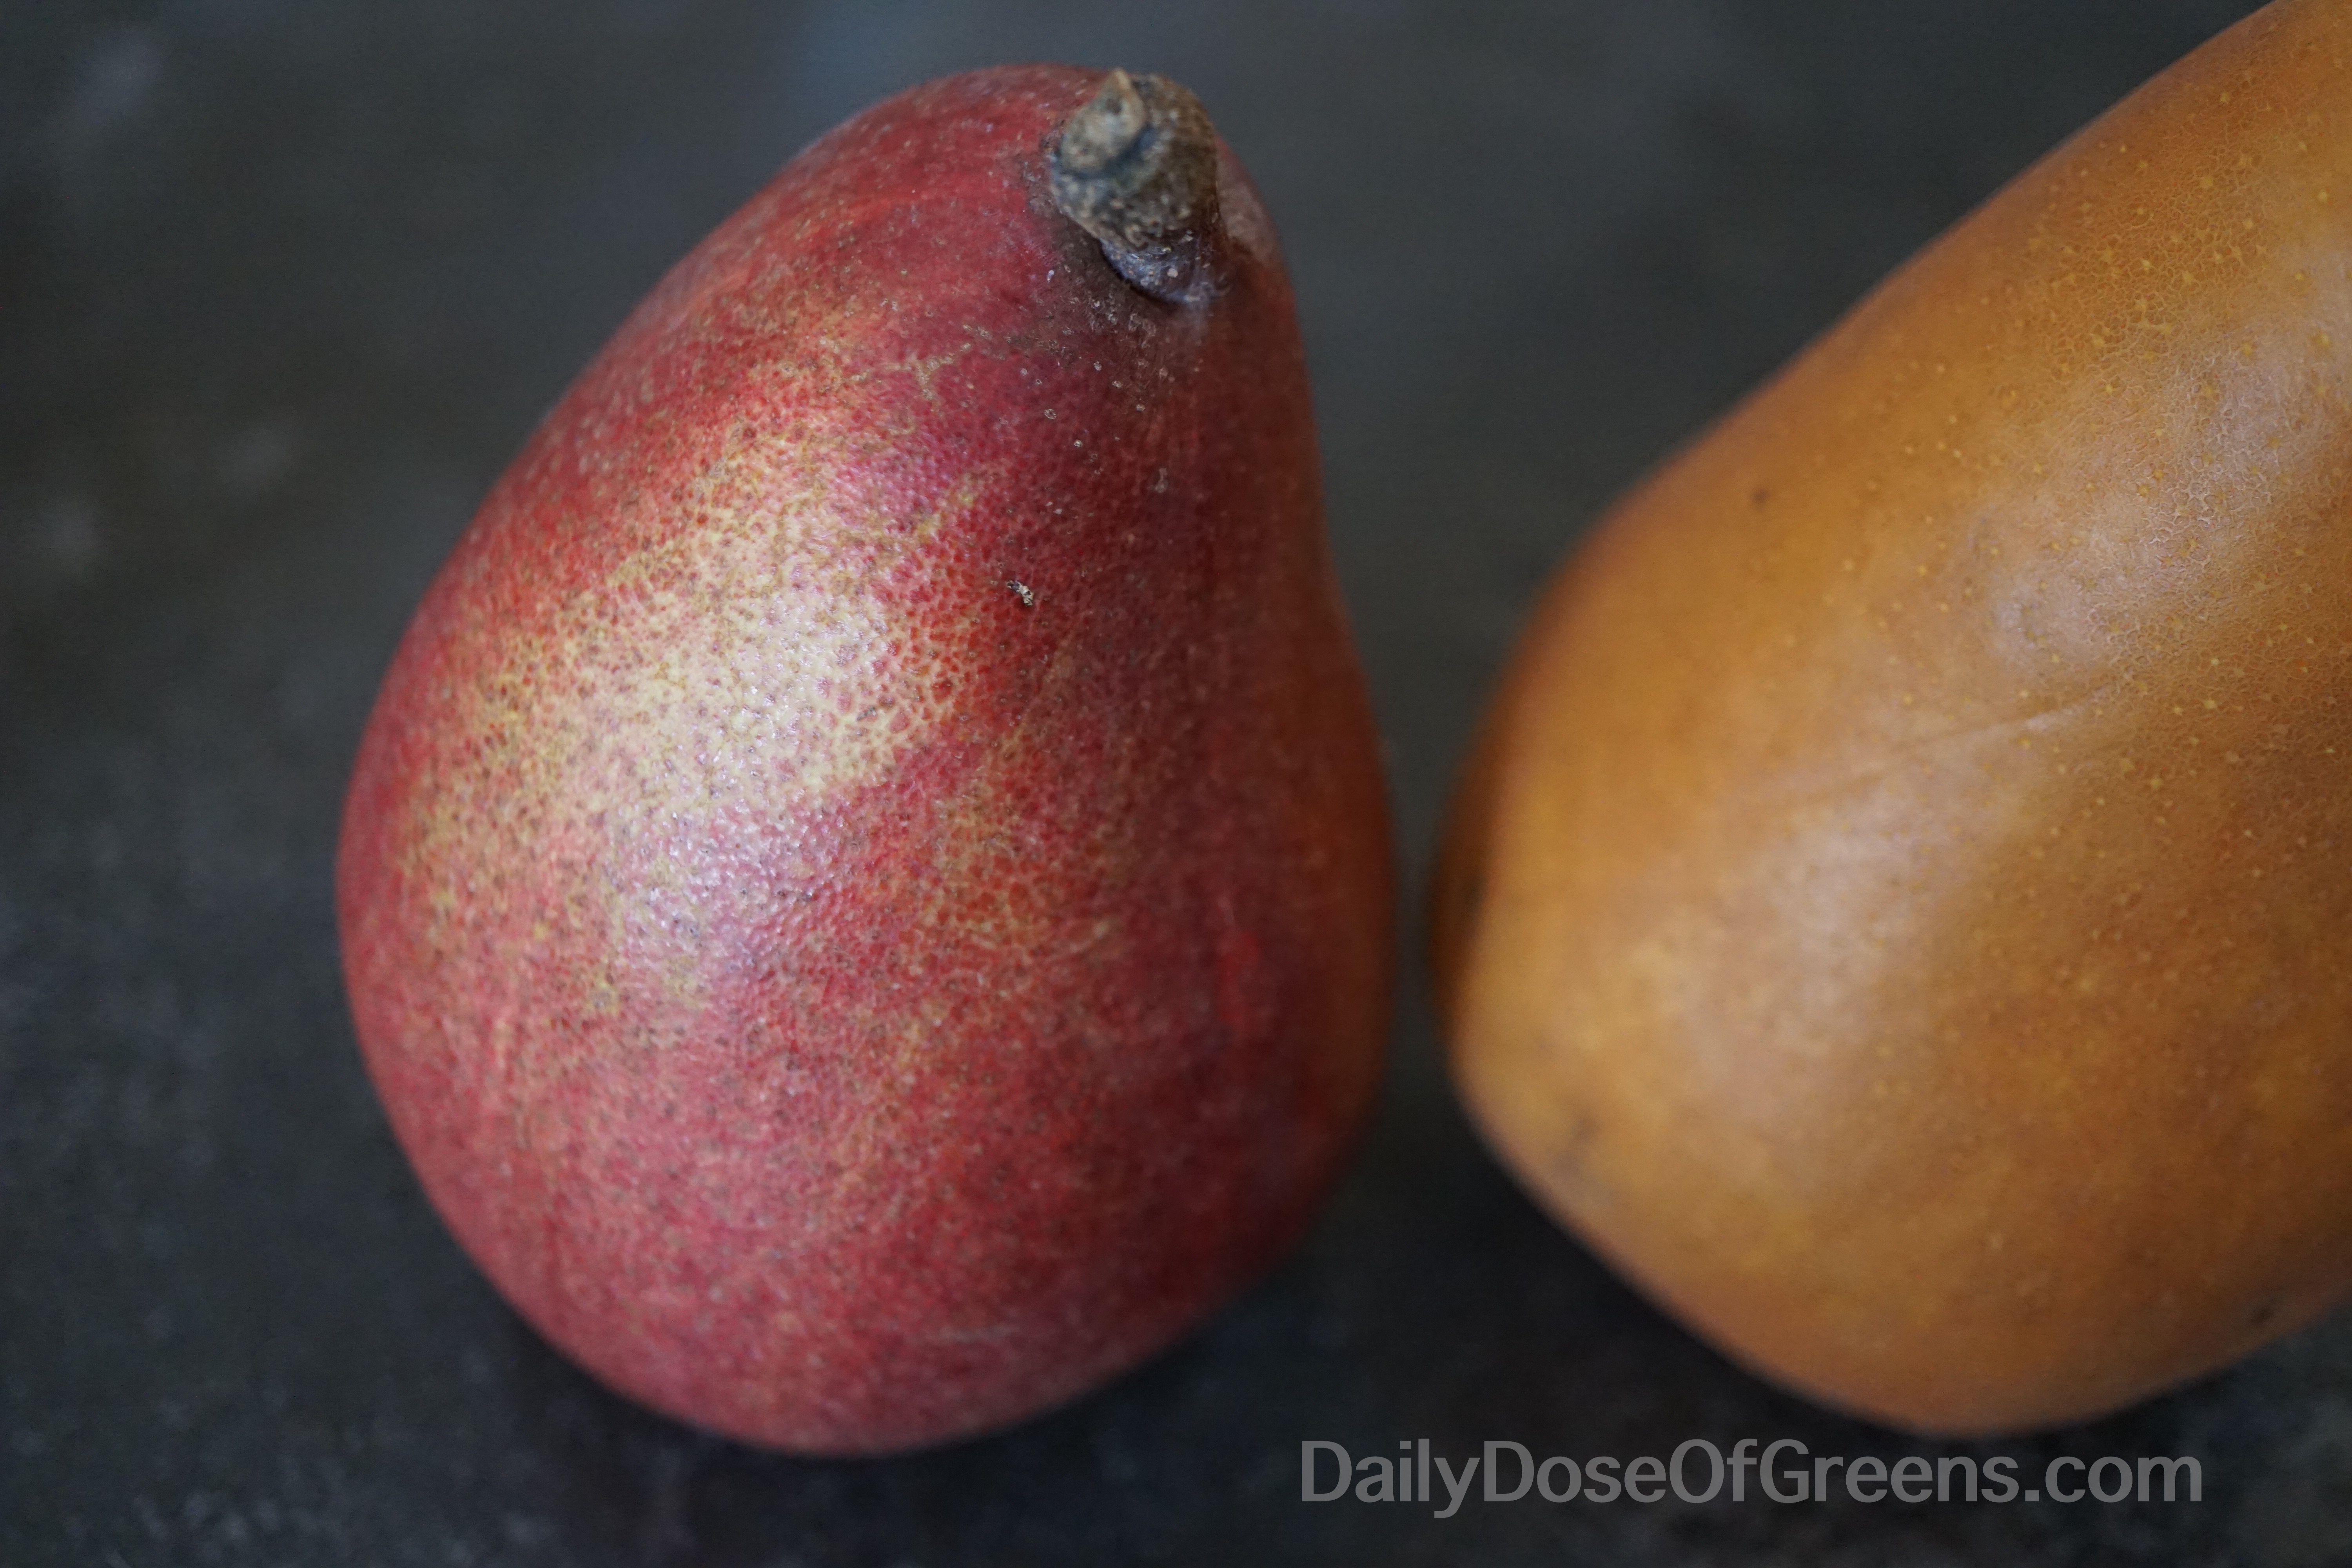
It’s difficult to find a dessert more attractive than a fruit tart. I’d been wanting to make one, but wasn’t very motivated until I came across some beautiful red d’Anjou pears at Whole Foods the other day.
I decided to create a pear tart using vanilla cashew cream and my new caramel recipe, but was unsure of how to make a good tart crust. I started with a vegan, gluten-free crust recipe that I found on another blog, and it was hardly edible — chalky and tasteless. So for my second attempt I altered one of my cookie recipes, and BINGO!

This crust is slightly sweet, has a nice texture, and tastes like a vanilla shortbread cookie. Add a layer of vanilla cashew cream, cooked pears, cinnamon, and a drizzle of caramel, and you have a delicious dessert that’s almost too pretty to eat . . . almost.


Pear Tart with Vanilla Cashew Cream and Caramel
Ingredients:
Crust:
- 1 1/2 cup almond flour
- 1/4 cup + 2 T. coconut flour
- 1 1/2 T. ground flax
- Pinch sea salt
- 3 T. maple syrup
- 3/4 t. vanilla extract
- Scant 1/2 cup coconut oil, melted
Filling:
- 2 ripe pears
- 1 lemon
- 1/2 cup raw cashews, soaked at least 1 hr in warm water
- 2 T. maple syrup
- 3 T. coconut oil
- 1 t. vanilla extract
- 1 T. warm water
- Ground cinnamon for sprinkling on top of pears
Caramel (optional):
- 1 T. tahini (sesame seed paste)
- 1 T. coconut nectar (sold with agave, honey, etc.)
- 2 t. maple syrup
- Pinch sea salt
Directions:
- Start with the crust: Preheat oven to 350°F. Combine dry crust ingredients in one bowl and wet in another. Pour wet into dry and mix until a dough forms. Press dough into an 8 or 9-inch tart pan with a removable bottom, using a flat-bottomed cup to smooth the dough against the sides of the pan (see photo below). Prick the bottom of the crust several times with a fork to prevent bubbling. Bake for 11-13 minutes, or until the edges of the crust are golden. Let cool completely in the pan.
- Next make the cashew cream: Combine drained cashews, 1 t. lemon juice, maple syrup, coconut oil, vanilla, and 1 T. warm water in a blender until smooth. Pour into cooled crust and spread to create an even layer.
- Prepare the pear topping: Preheat broiler. Wash and peel one pear, cut it in half, then remove the core. Slice each half into thin wedges, about 1/4-inch thick (see photos), place them into a shallow bowl, and squeeze lemon juice over them to prevent browning. Repeat with the second pear. Microwave pear slices for about 1 minute 30 seconds on high. Allow to cool enough to handle, then remove one slice, gently squeeze it with a paper towel to remove excess liquid, and place it against the crust with the narrow edge down into the cashew cream. Continue this process around the edge of the tart and spiral your way toward the center (see photos below). When you get to the middle, simply take two pear slices, turn the narrow sides up, fold the two slices together, and place them in the center. Place the tart in the oven and broil about 2 minutes. Note: The pears will not brown in the oven unless you coat them with apricot jam first. I did not do this because I knew I was going to add cinnamon and caramel, but it’s an option. Remove from oven and sprinkle lightly with ground cinnamon (I sprinkled mine through a colander, but you could also use a sifter.).
- Make the caramel: Stir together the caramel ingredients in a small bowl. And that’s it!
- Serve: Remove tart from tart pan and transfer to a plate or serving dish. Use a sharp knife to cut the tart into about 6 slices. When ready to serve, drizzle each slice with caramel, if desired. Enjoy!

Press dough against the sides of the pan with a flat-bottomed cup.

Slice pears into thin wedges and squeeze lemon juice over them to prevent enzymatic browning.
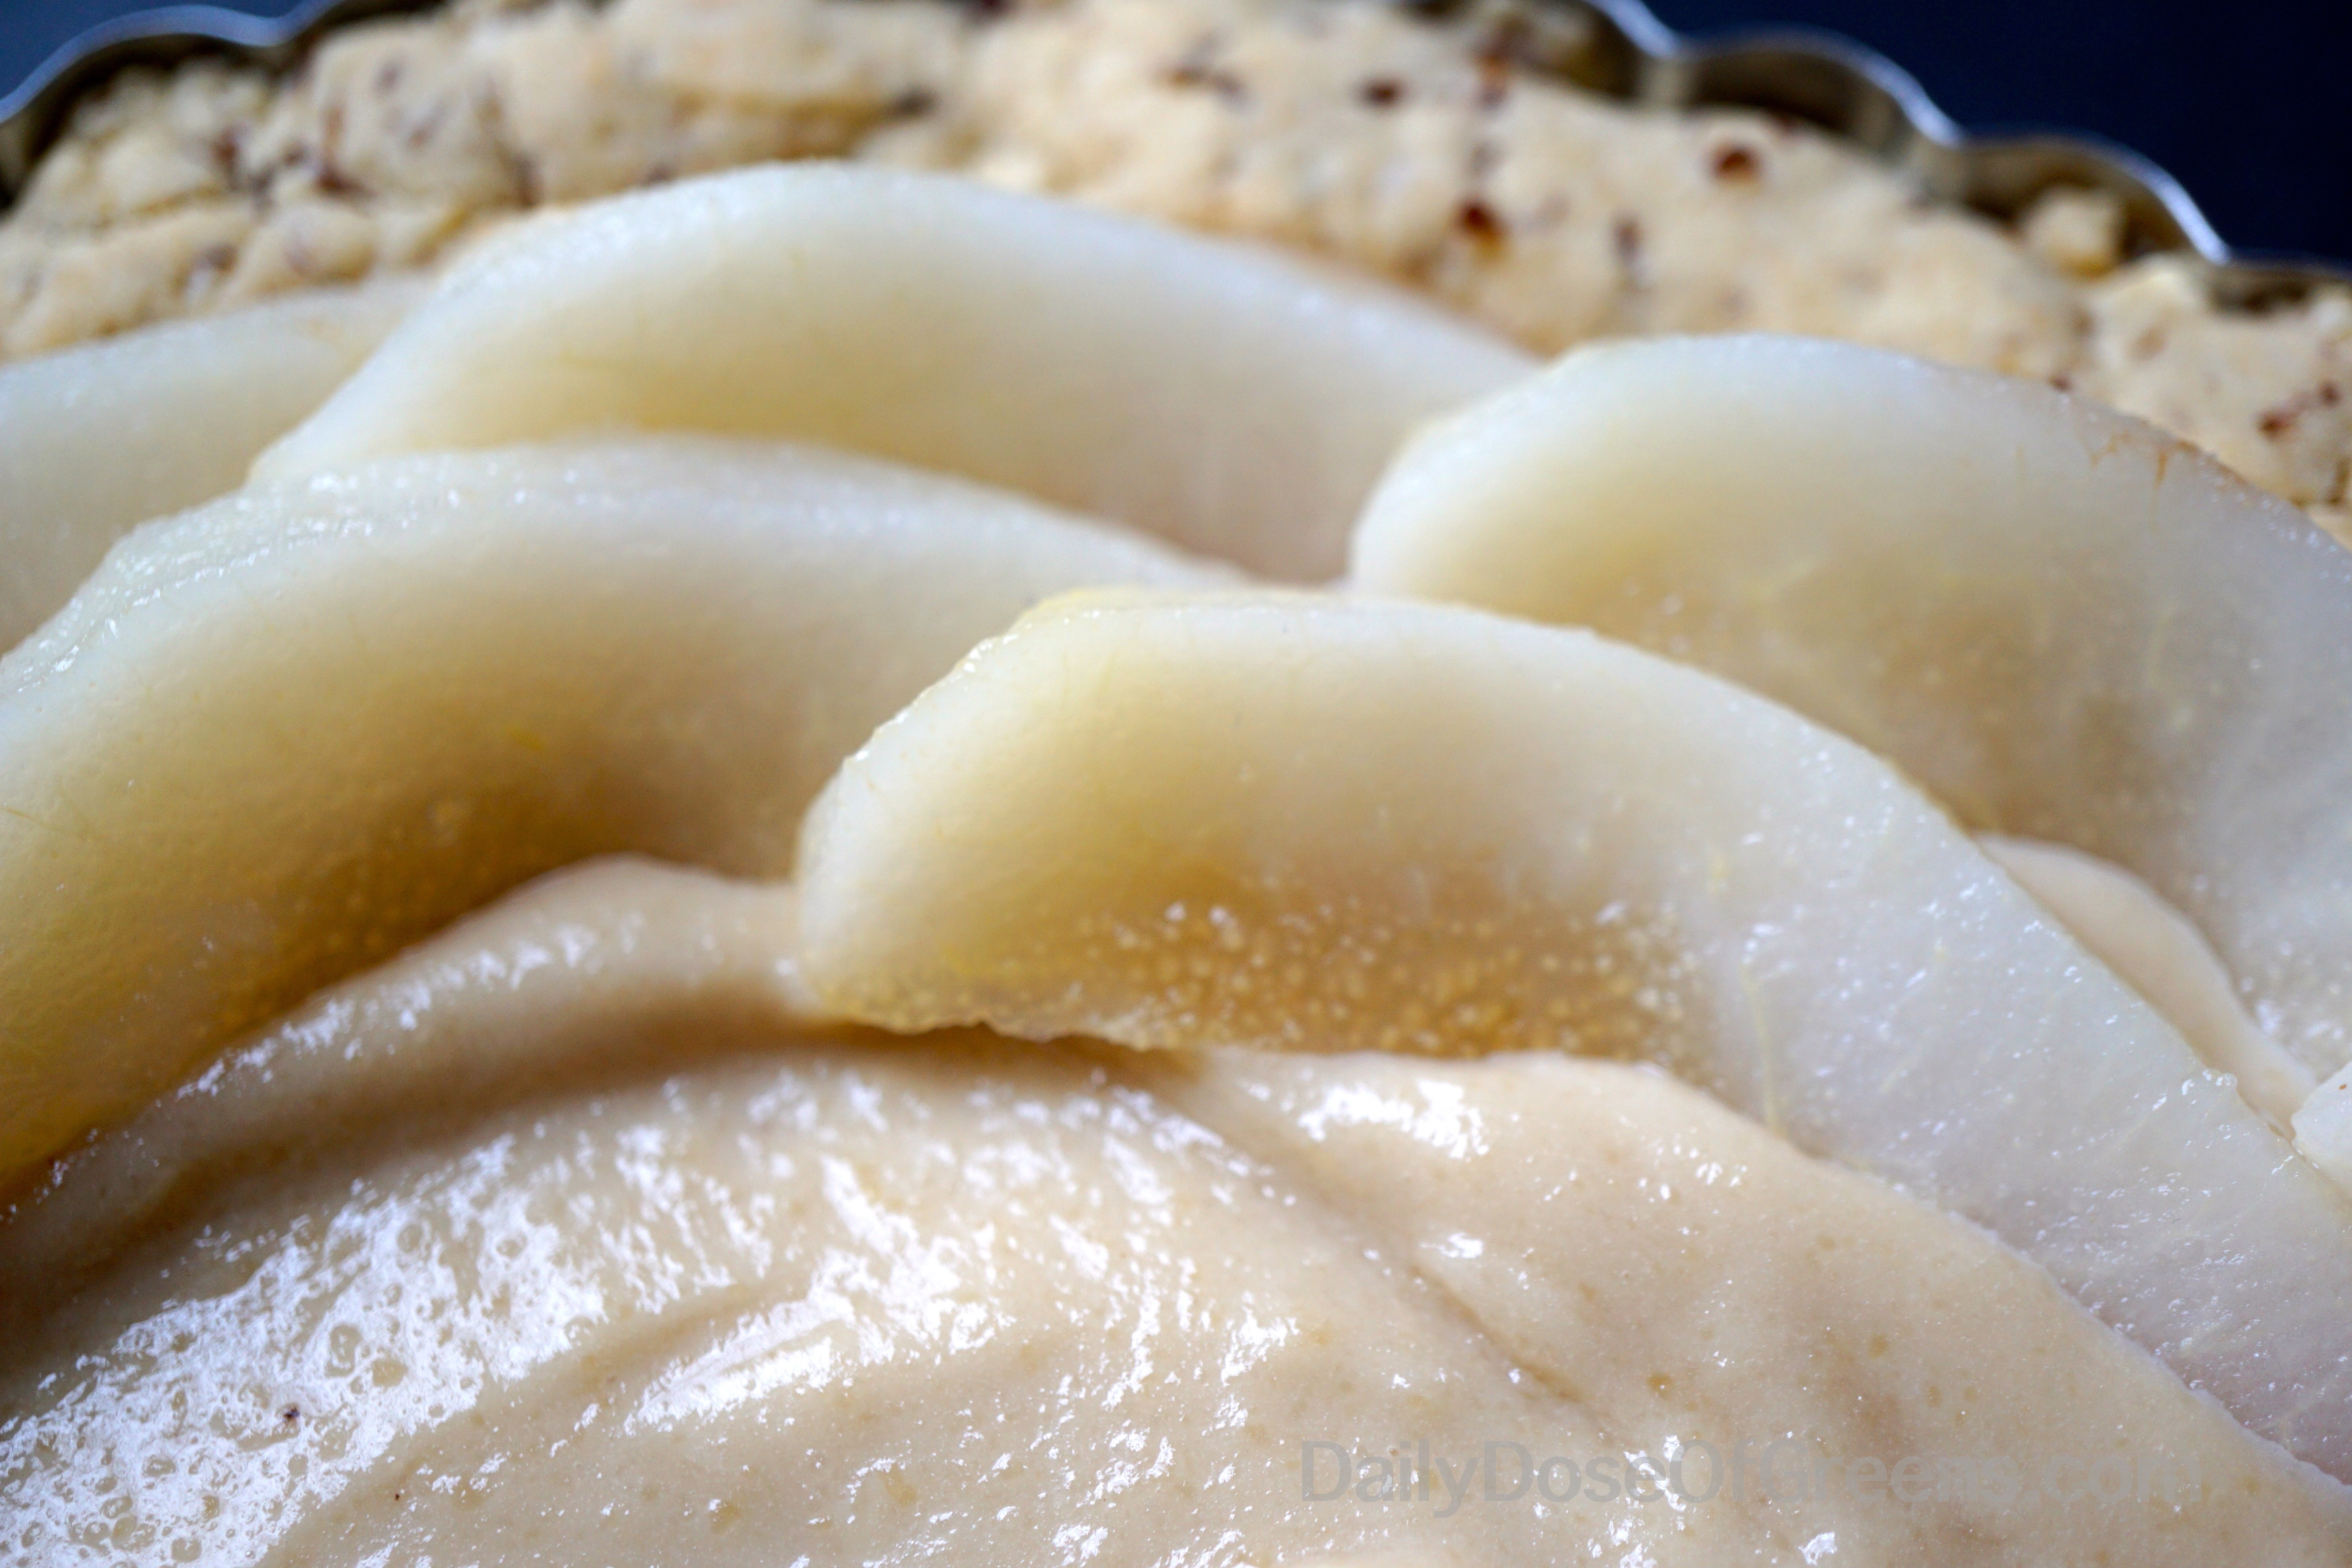
Start on the outside edges, slightly overlapping each pear slice, and work your way to the center.


Tahini, coconut nectar, and maple syrup make a beautiful caramel sauce.


This dessert really doesn’t need the caramel sauce. It’s delicious on its own!


Although this recipe has three separate parts, each one is easy to make. This dessert looks fancy, but anyone can place pear slices next to each other repeatedly until it looks like a flower. This was my first try, and I think it turned out pretty well!
Not only does this dessert look impressive, it tastes great too! Even though it’s drizzled with caramel, it’s not overly sweet. The pears and the light crust prevent it from being too rich, and the vanilla cream and caramel remind us that it’s still a dessert (but I won’t tell anyone if you decide to eat it for breakfast!).
My mom is visiting next week, and I plan on making it for her to try. I have a feeling she’s going to love it!
I would love to see pictures of your pear tarts if you decide to try this recipe. Please post them to my Daily Dose of Greens Facebook Page (and “Like” it if you haven’t already!).
Happy cooking!

Leave a Reply