When experimenting in the kitchen, I accept that there will be failures as well as successes. But this vegan crème brûlée recipe is one that resulted in my texting my husband, “I AM A CULINARY GENIUS!!!”
This humble proclamation is not one I make often. In fact, I generally only make it when I’m working on a recipe that seems to be impossible to veganize. And since traditional crème brûlée is a custard made with heavy cream and egg yolks, I had low expectations for my more healthful, vegan version. But sometimes, like today, I surprise myself!
If you follow me on Twitter, you might recall that a few weeks ago I tweeted that I’d bought a crème brûlée torch at World Market (only $19.99!) and couldn’t wait to torch everything in my kitchen. Well, it turns out that you can’t torch anything until you purchase butane.
I ordered a can of butane on Amazon, received it a week or two later, then purchased a crème brûlée mix from Southern Home & Kitchen. On Monday night we were in the midst of a snow storm, so my husband decided we should pass the time by making crème brûlée. The mix was a powder mainly consisting of dried egg yolk and sugar, and the directions called for adding 2 cups of heavy cream. I decided to try it with coconut milk instead of heavy cream, and it never quite set up like a custard (we ate/drank it anyway).
After this cooking failure, I was determined to concoct a vegan crème brûlée that is delicious and not as terrible for you as the original recipe.
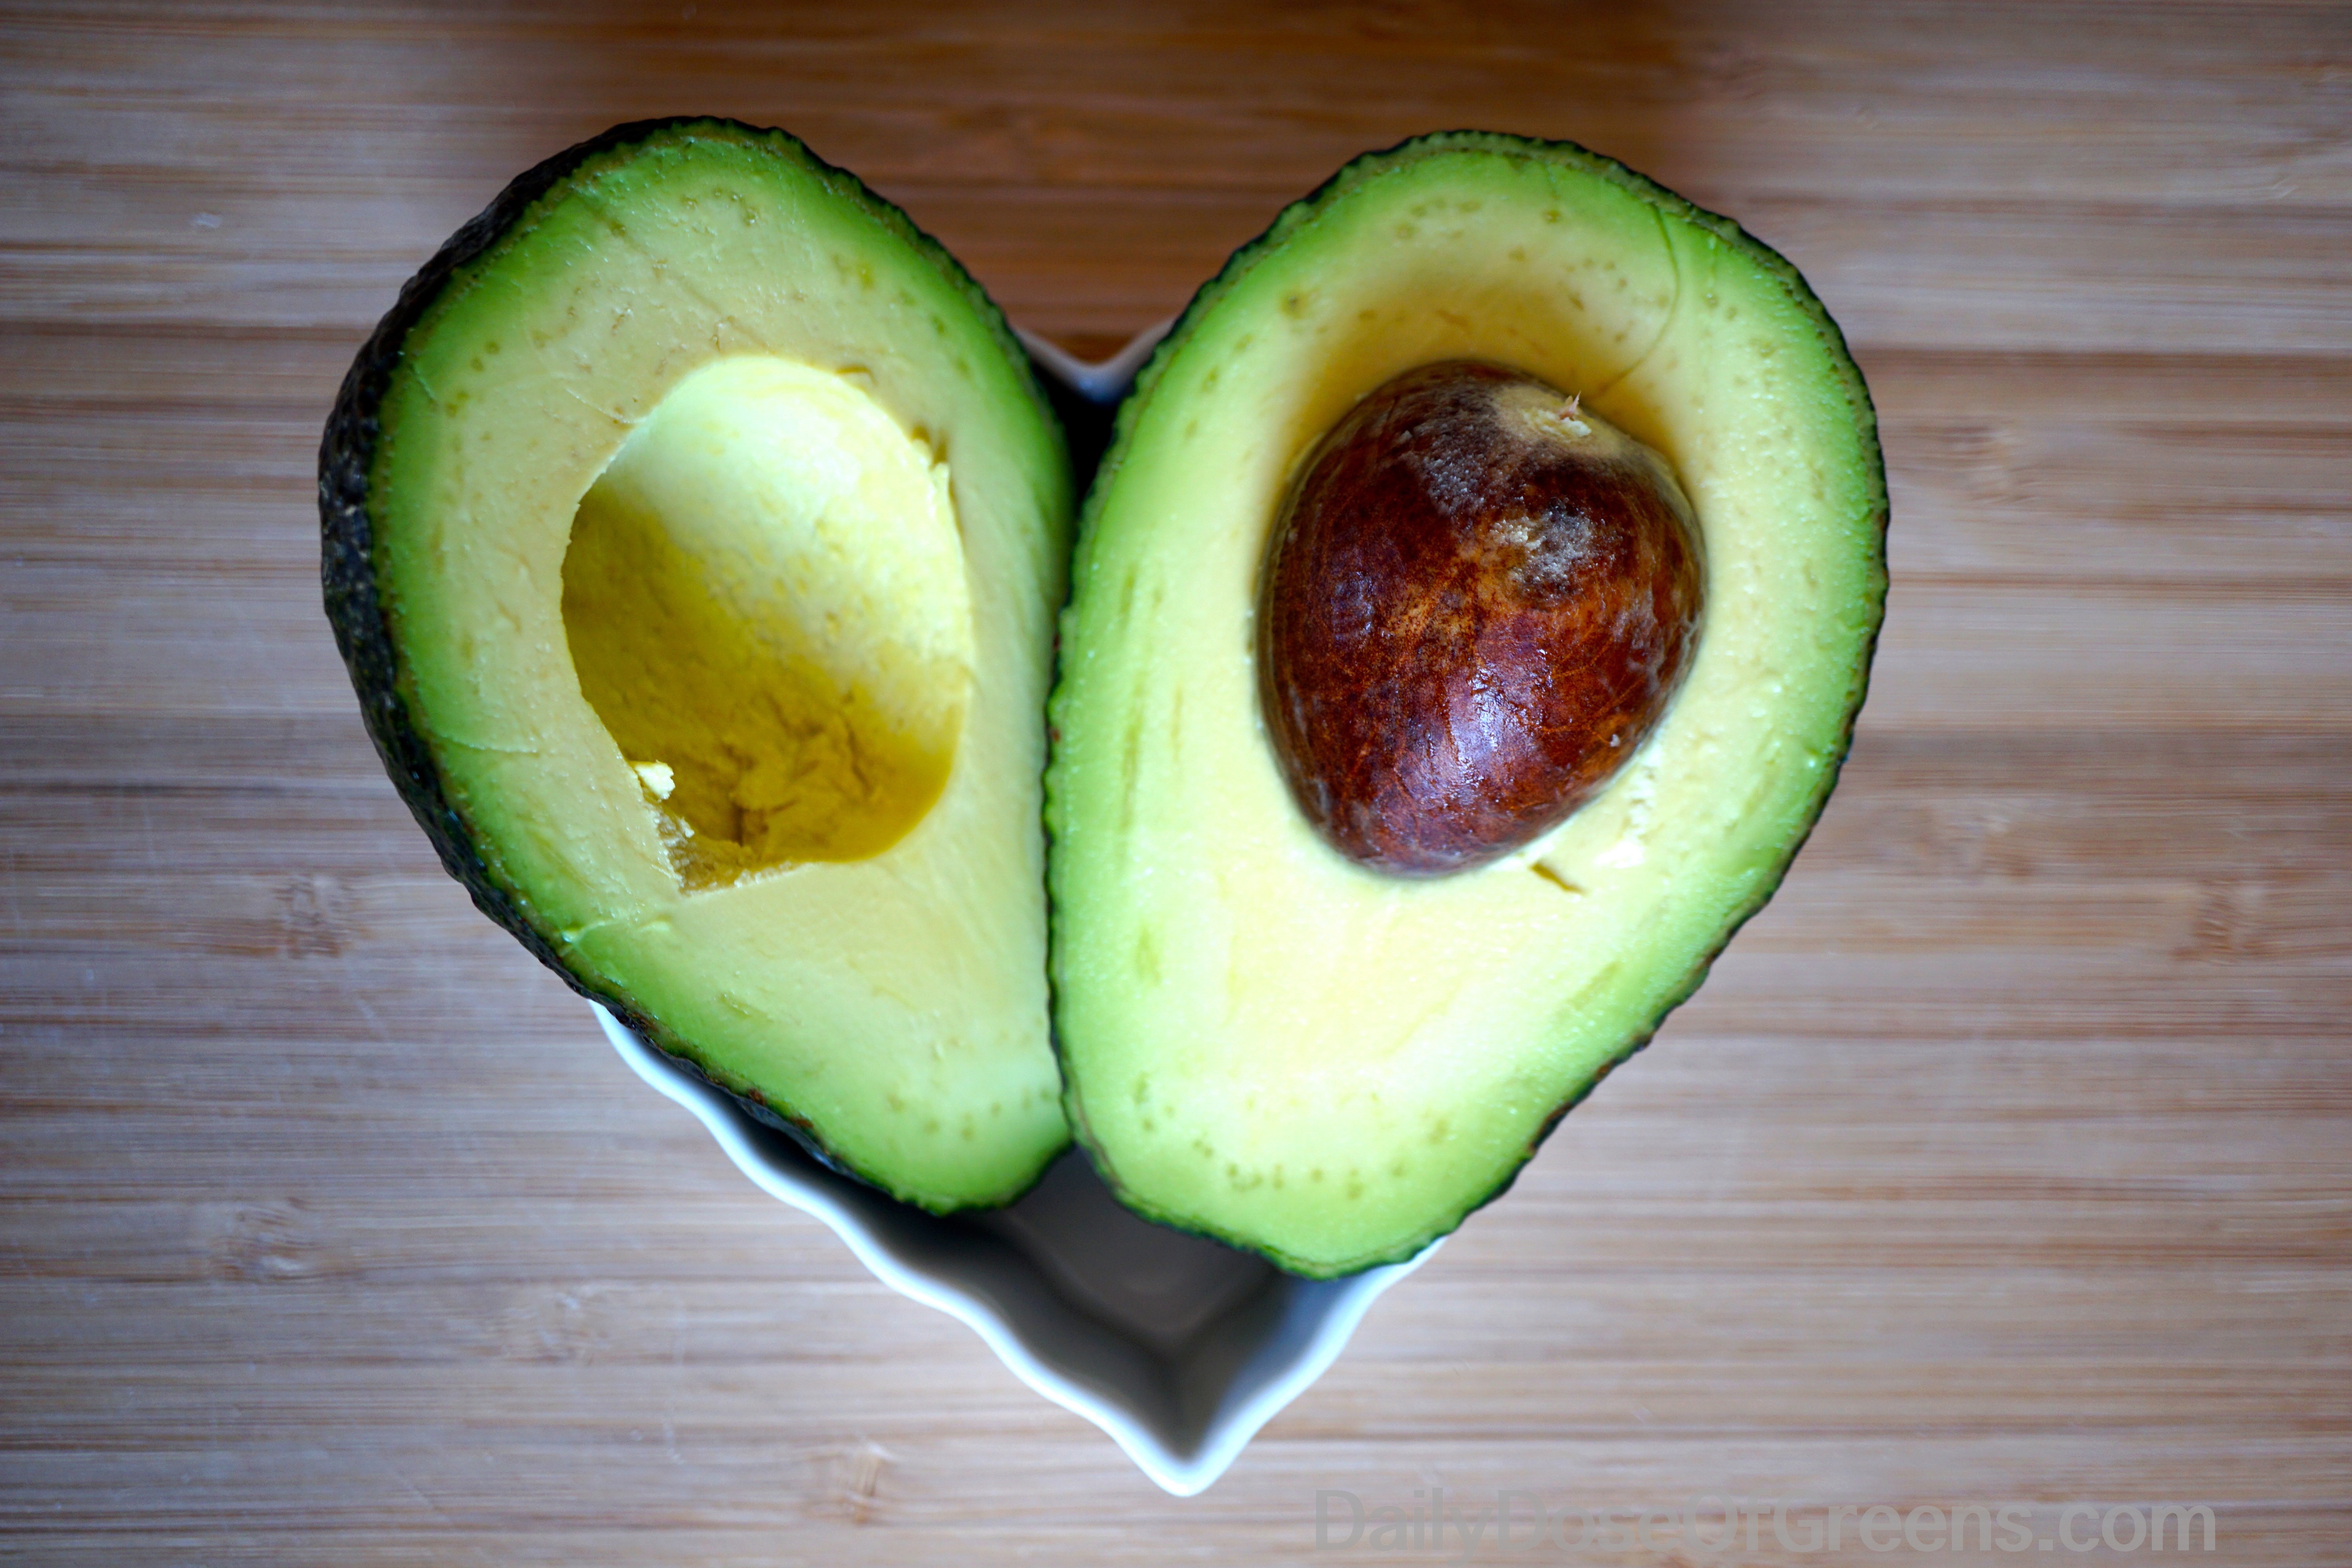
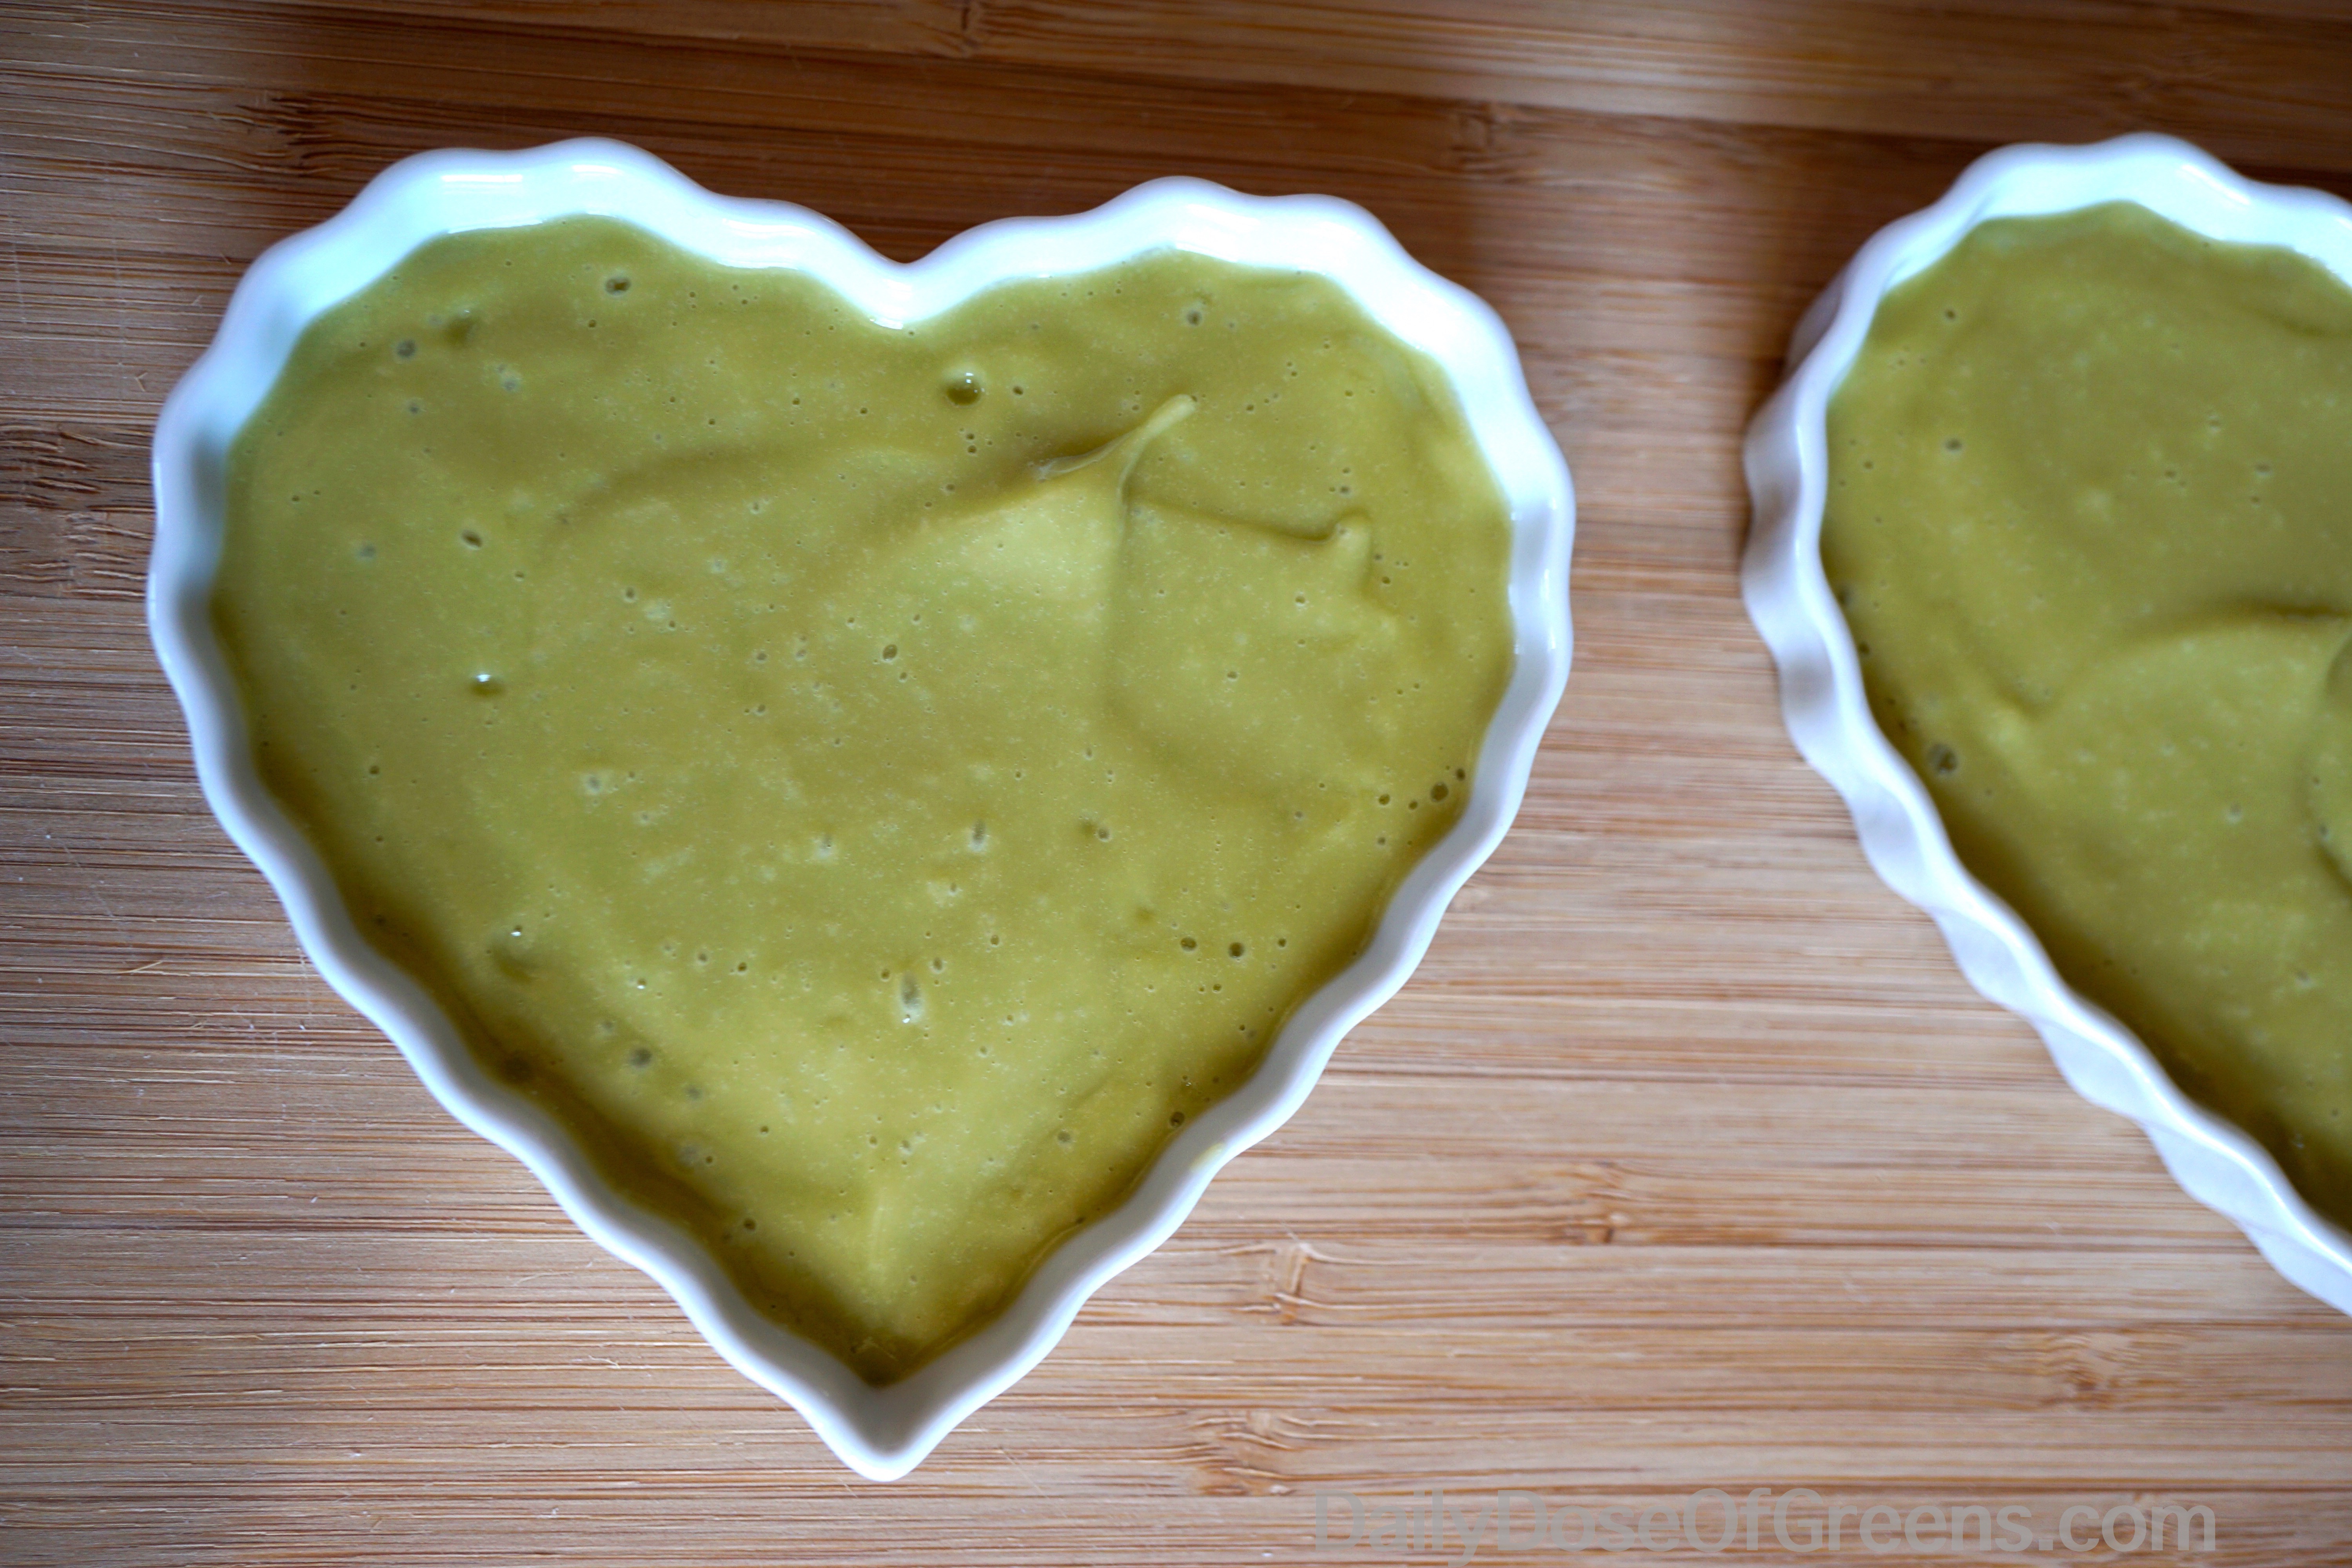
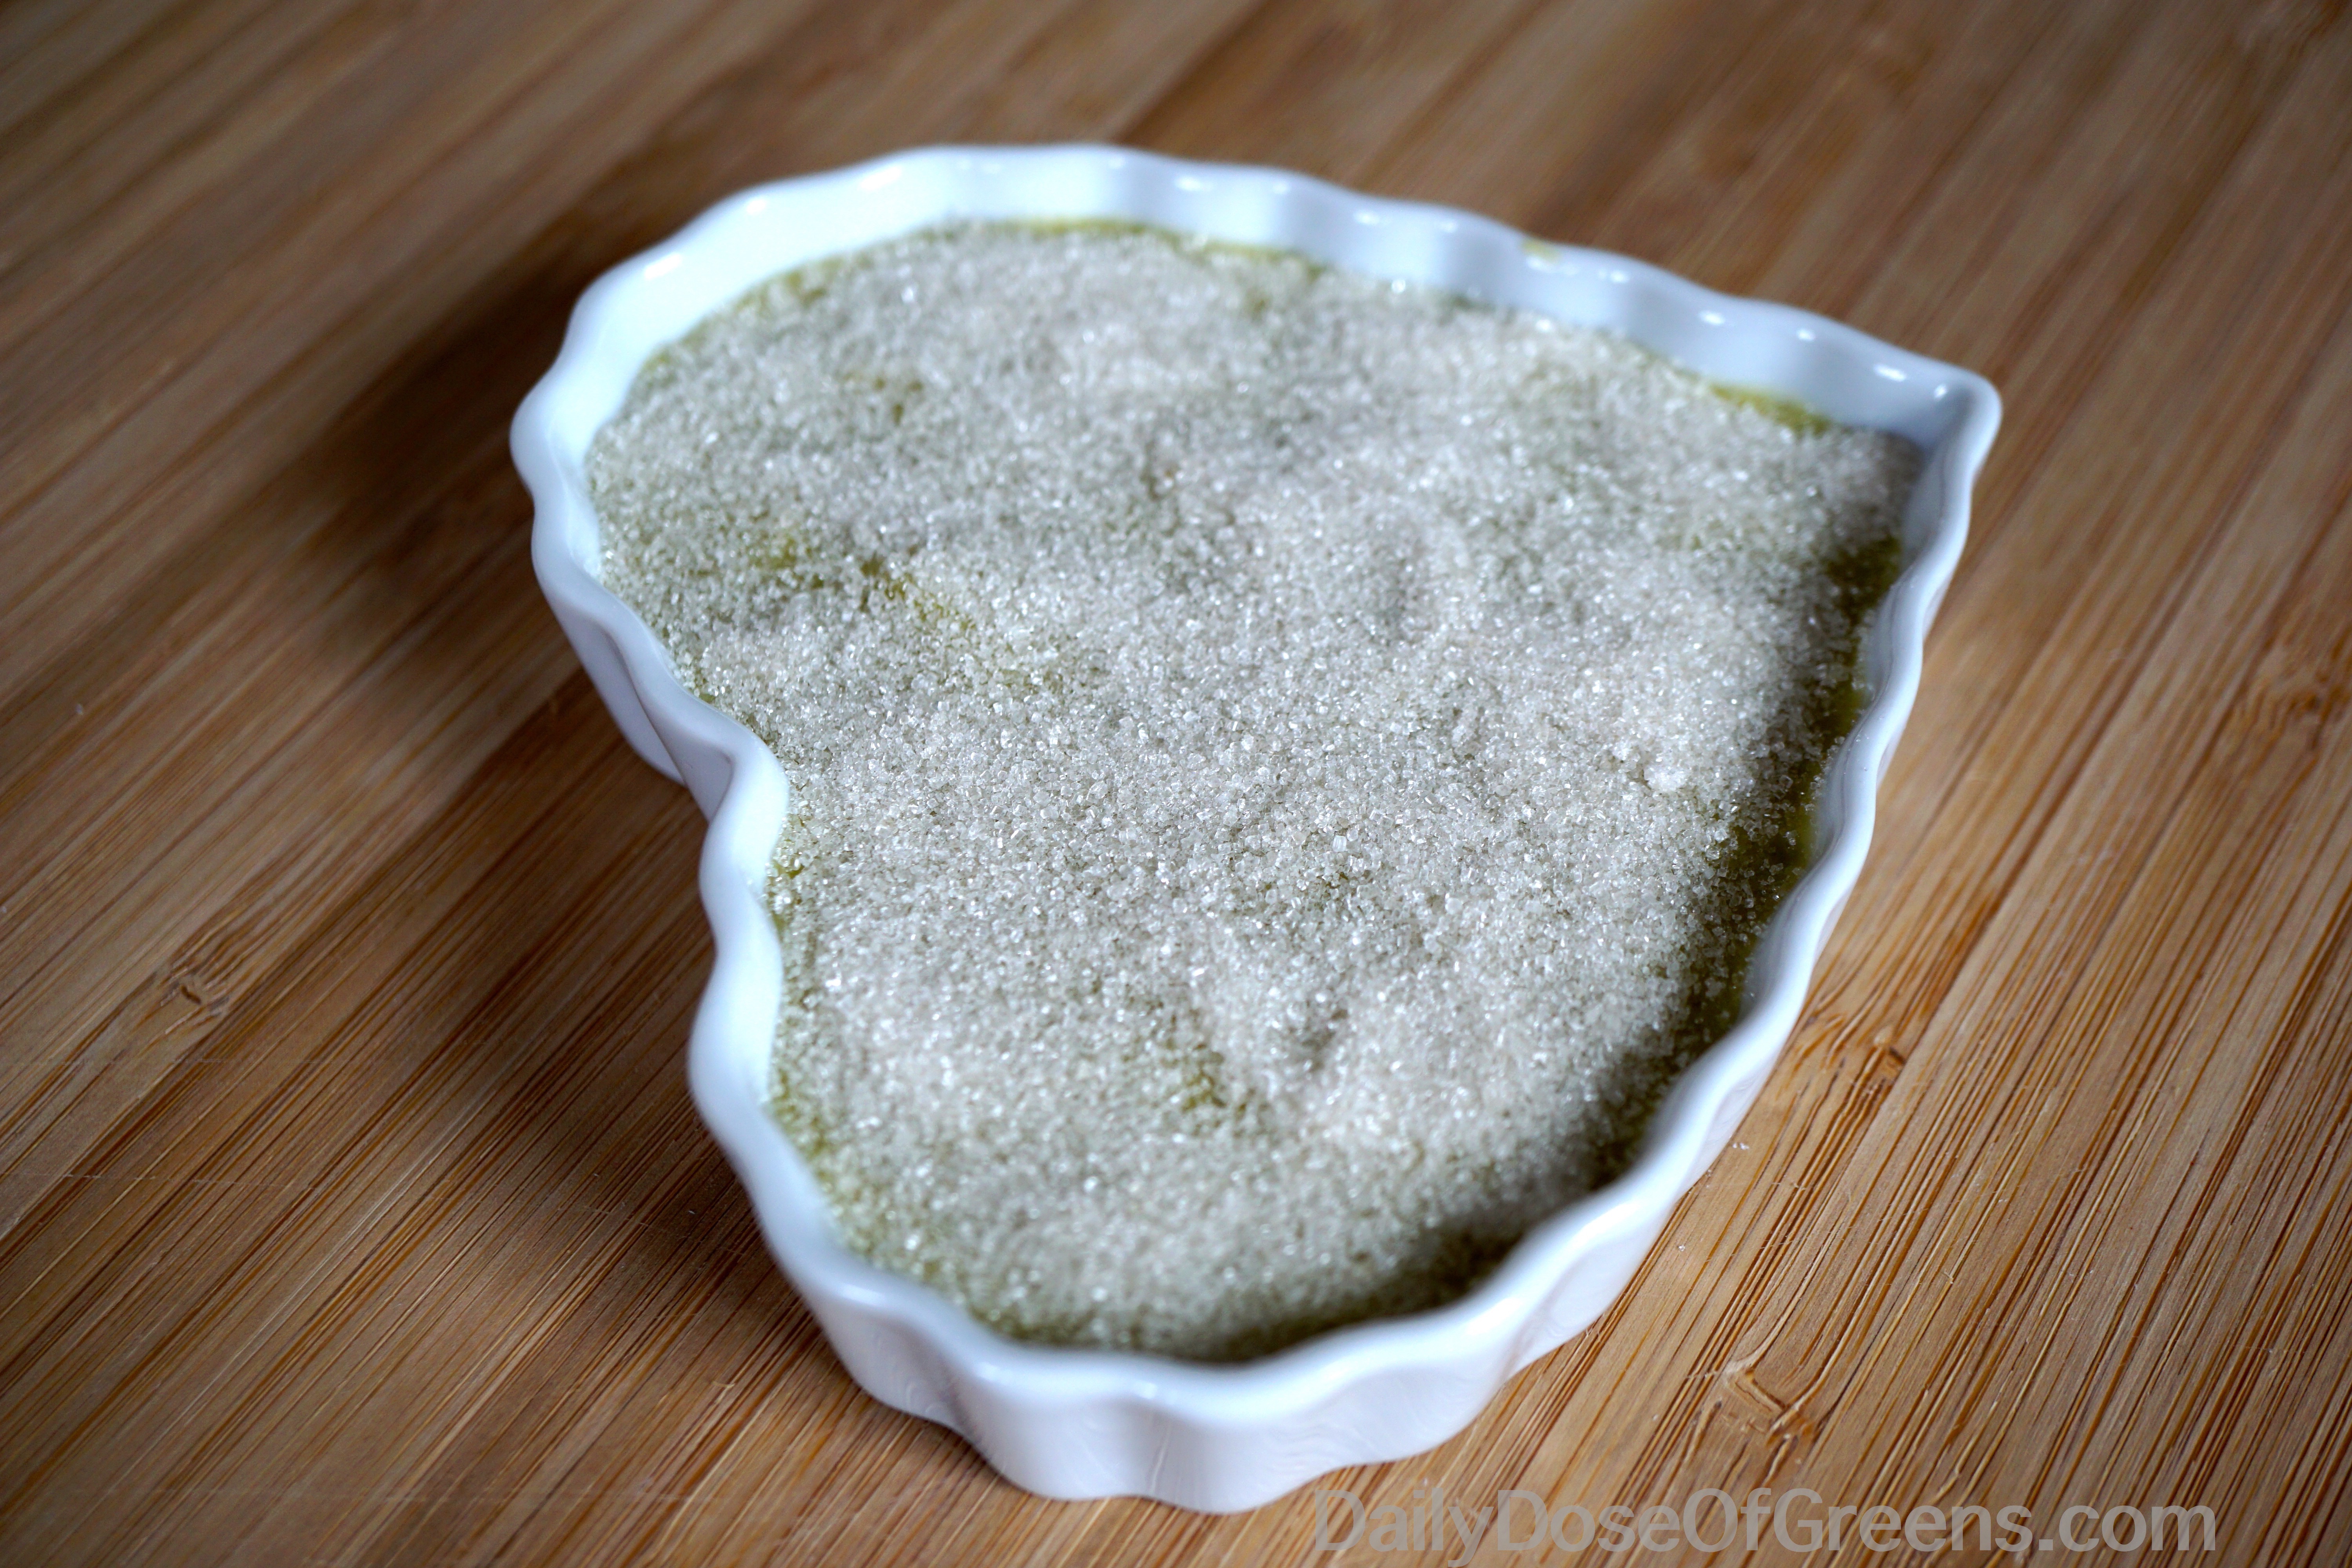
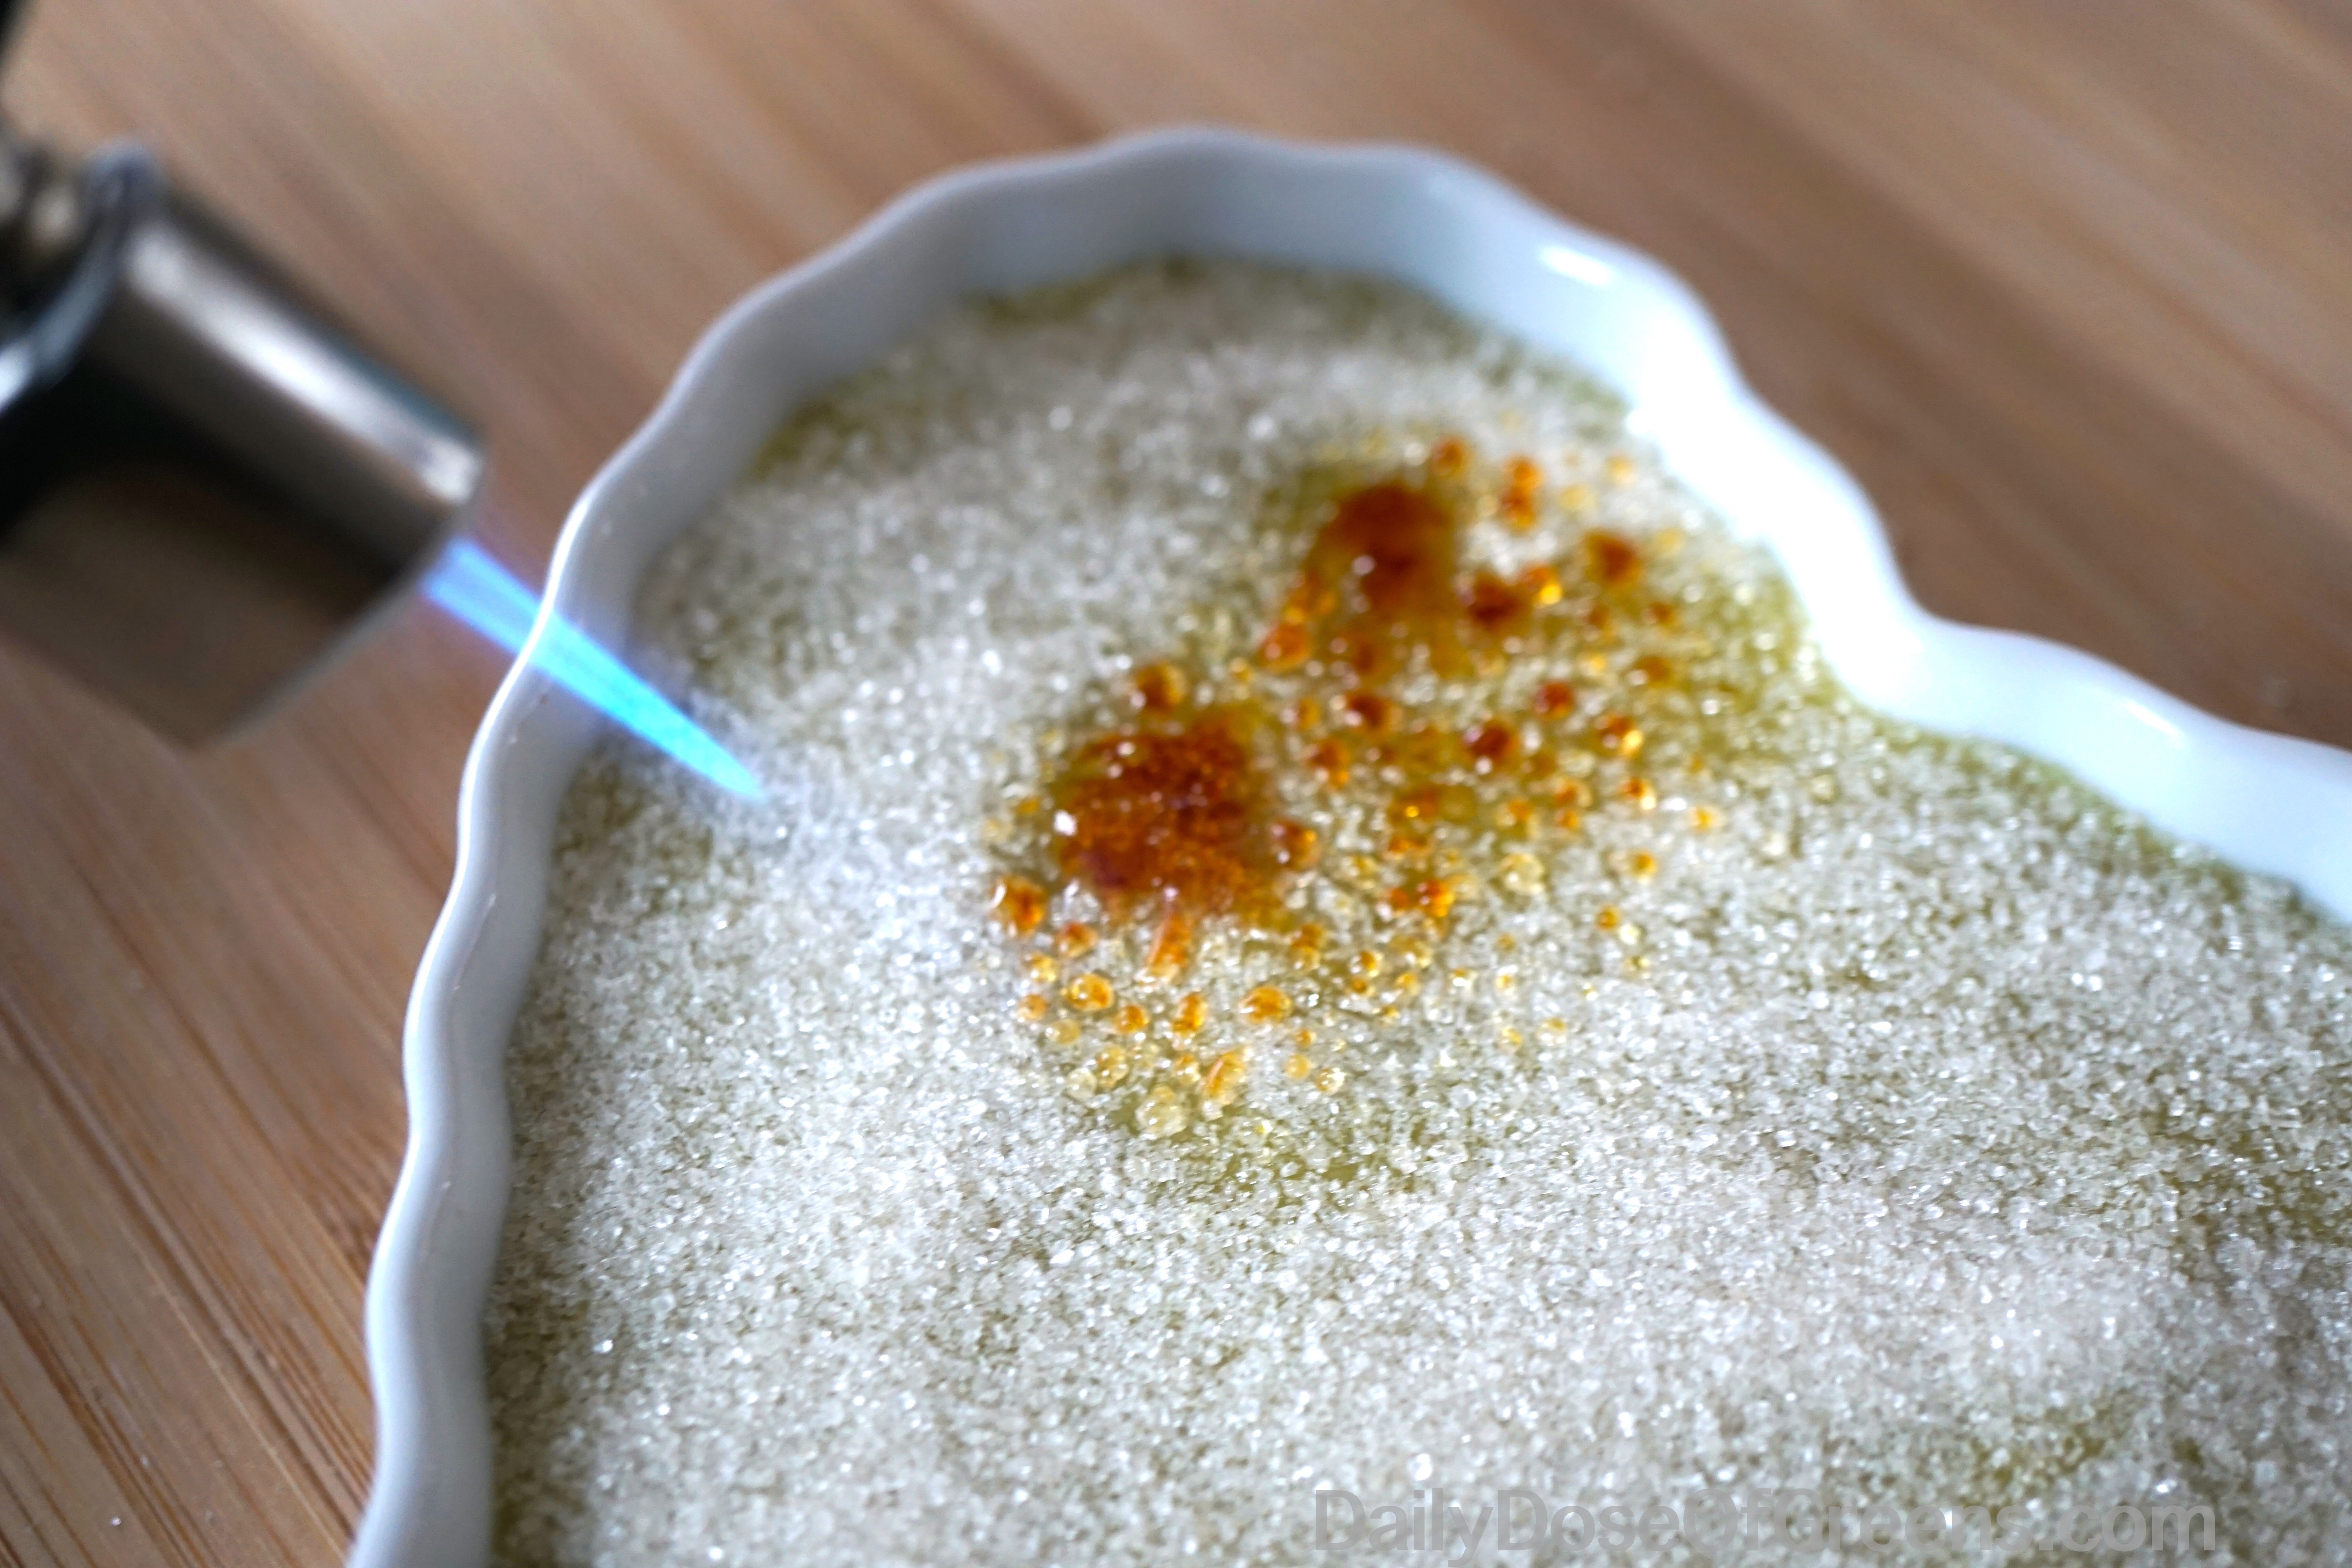
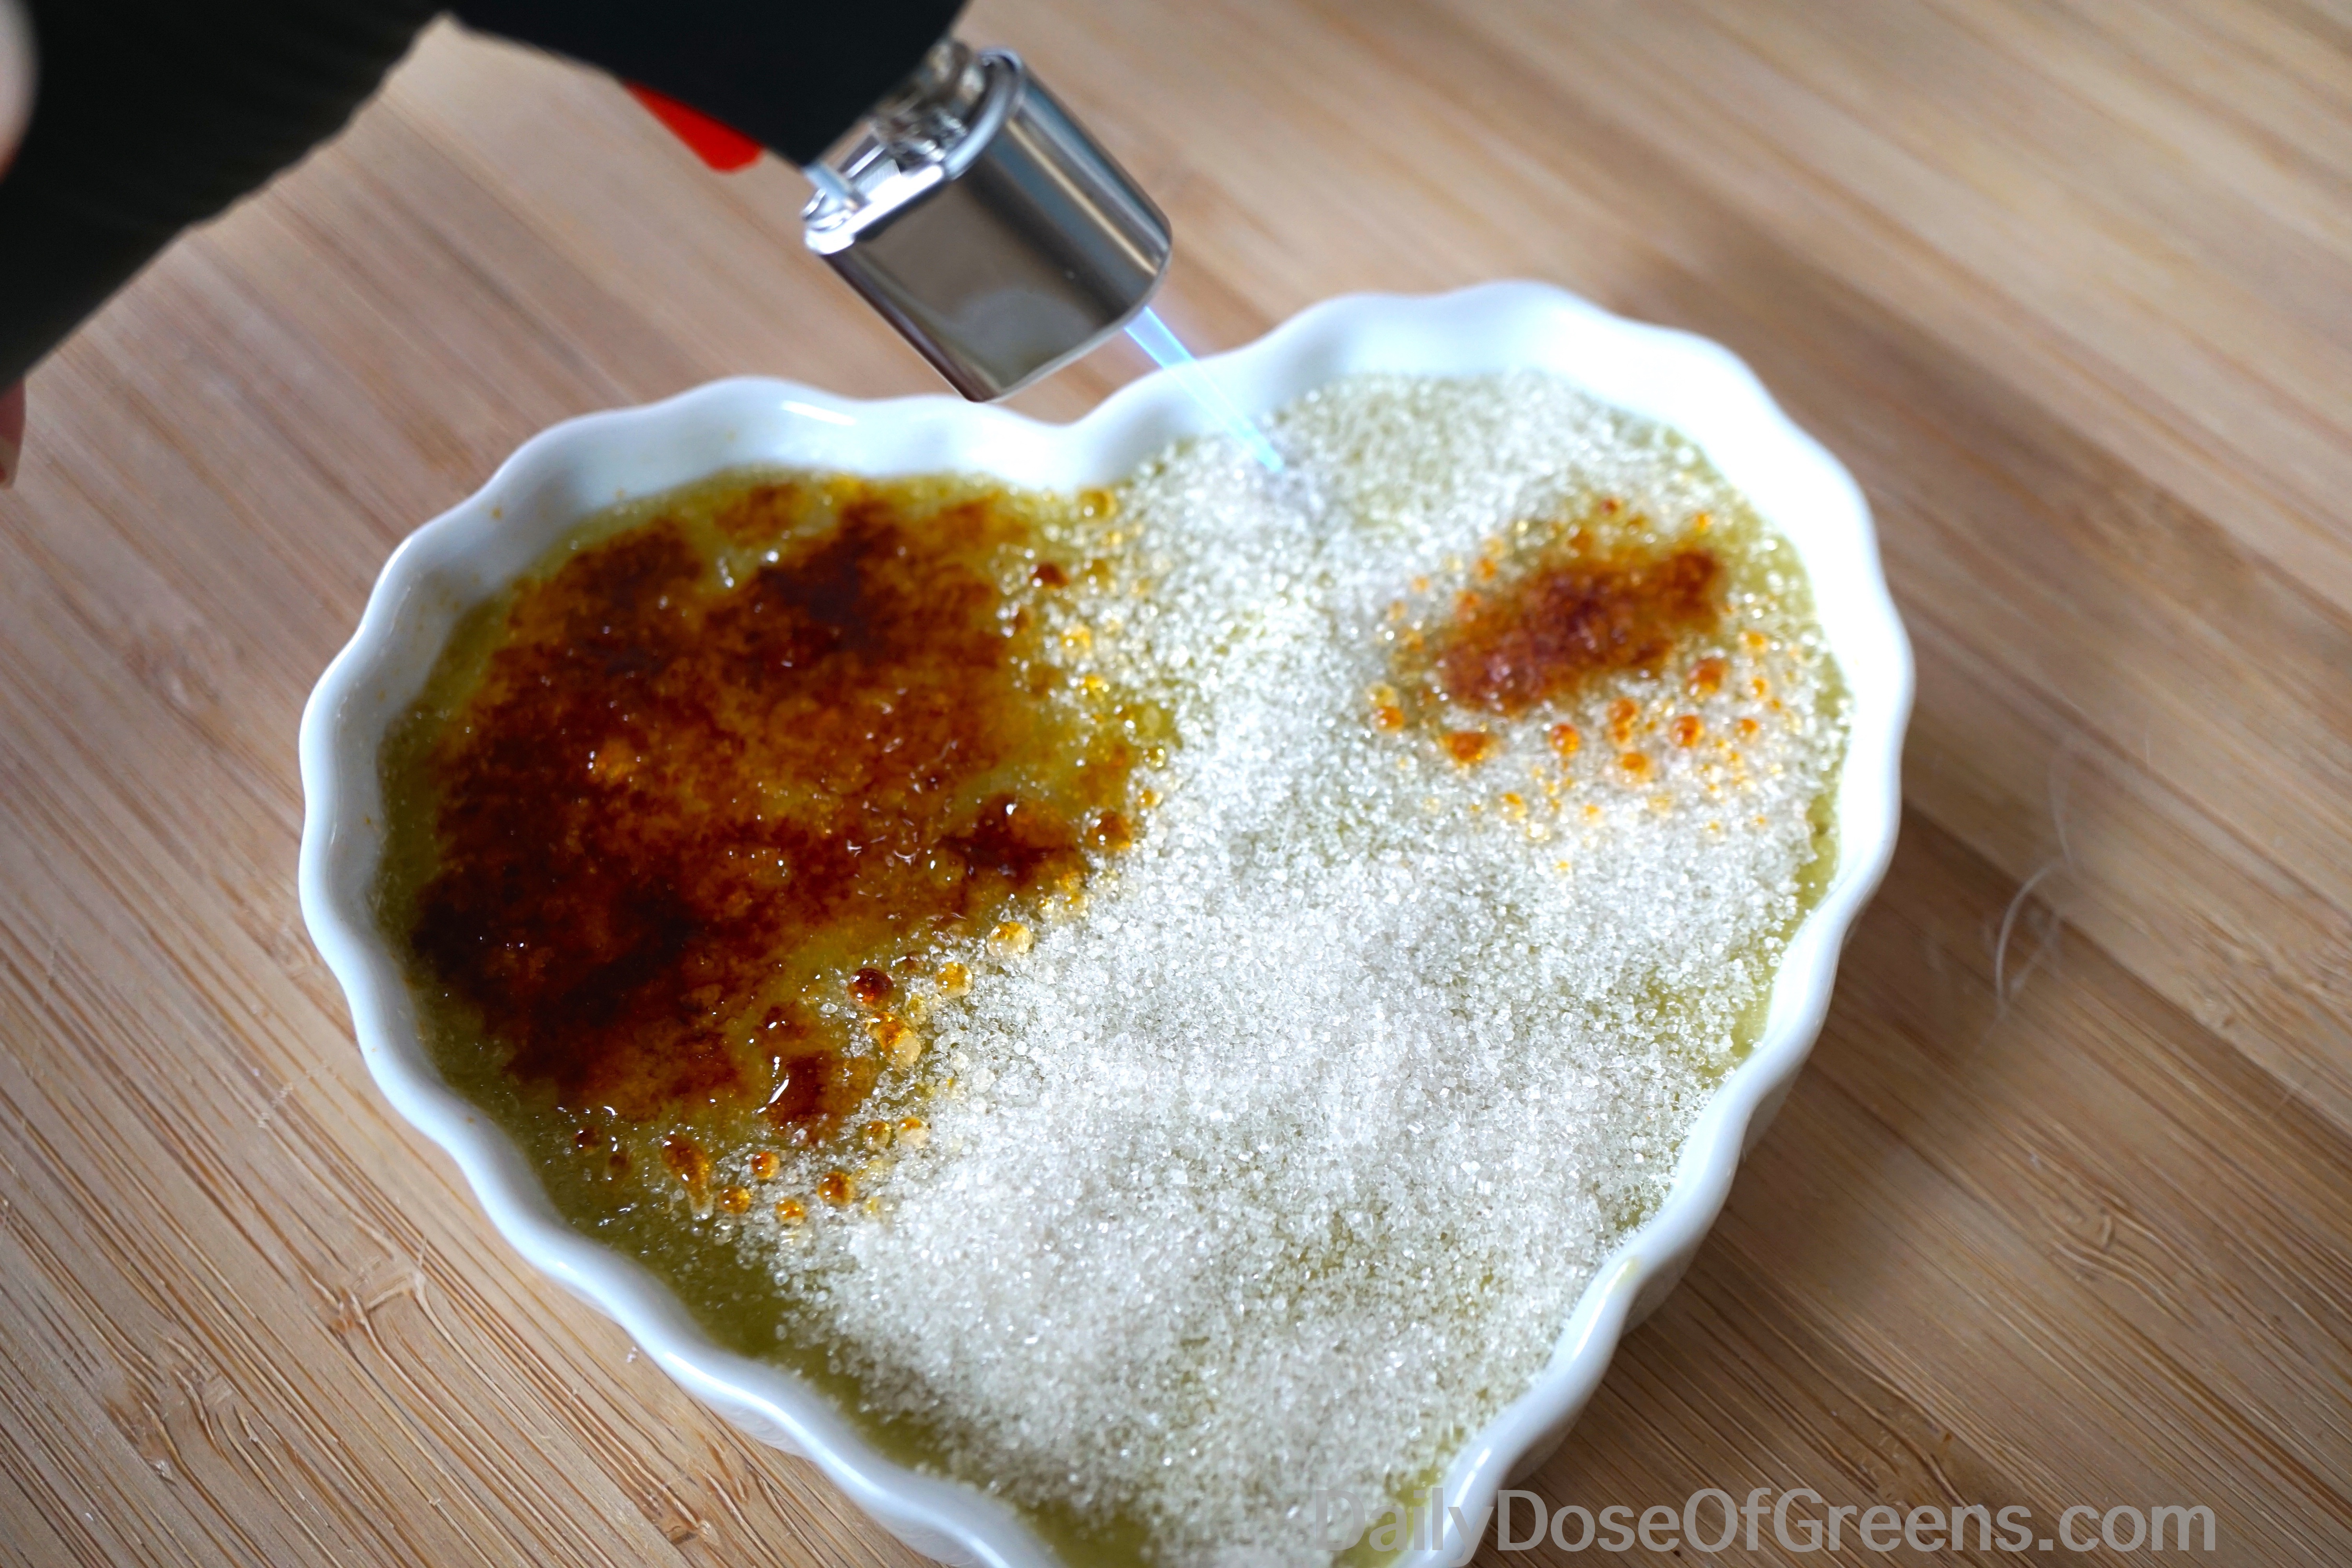
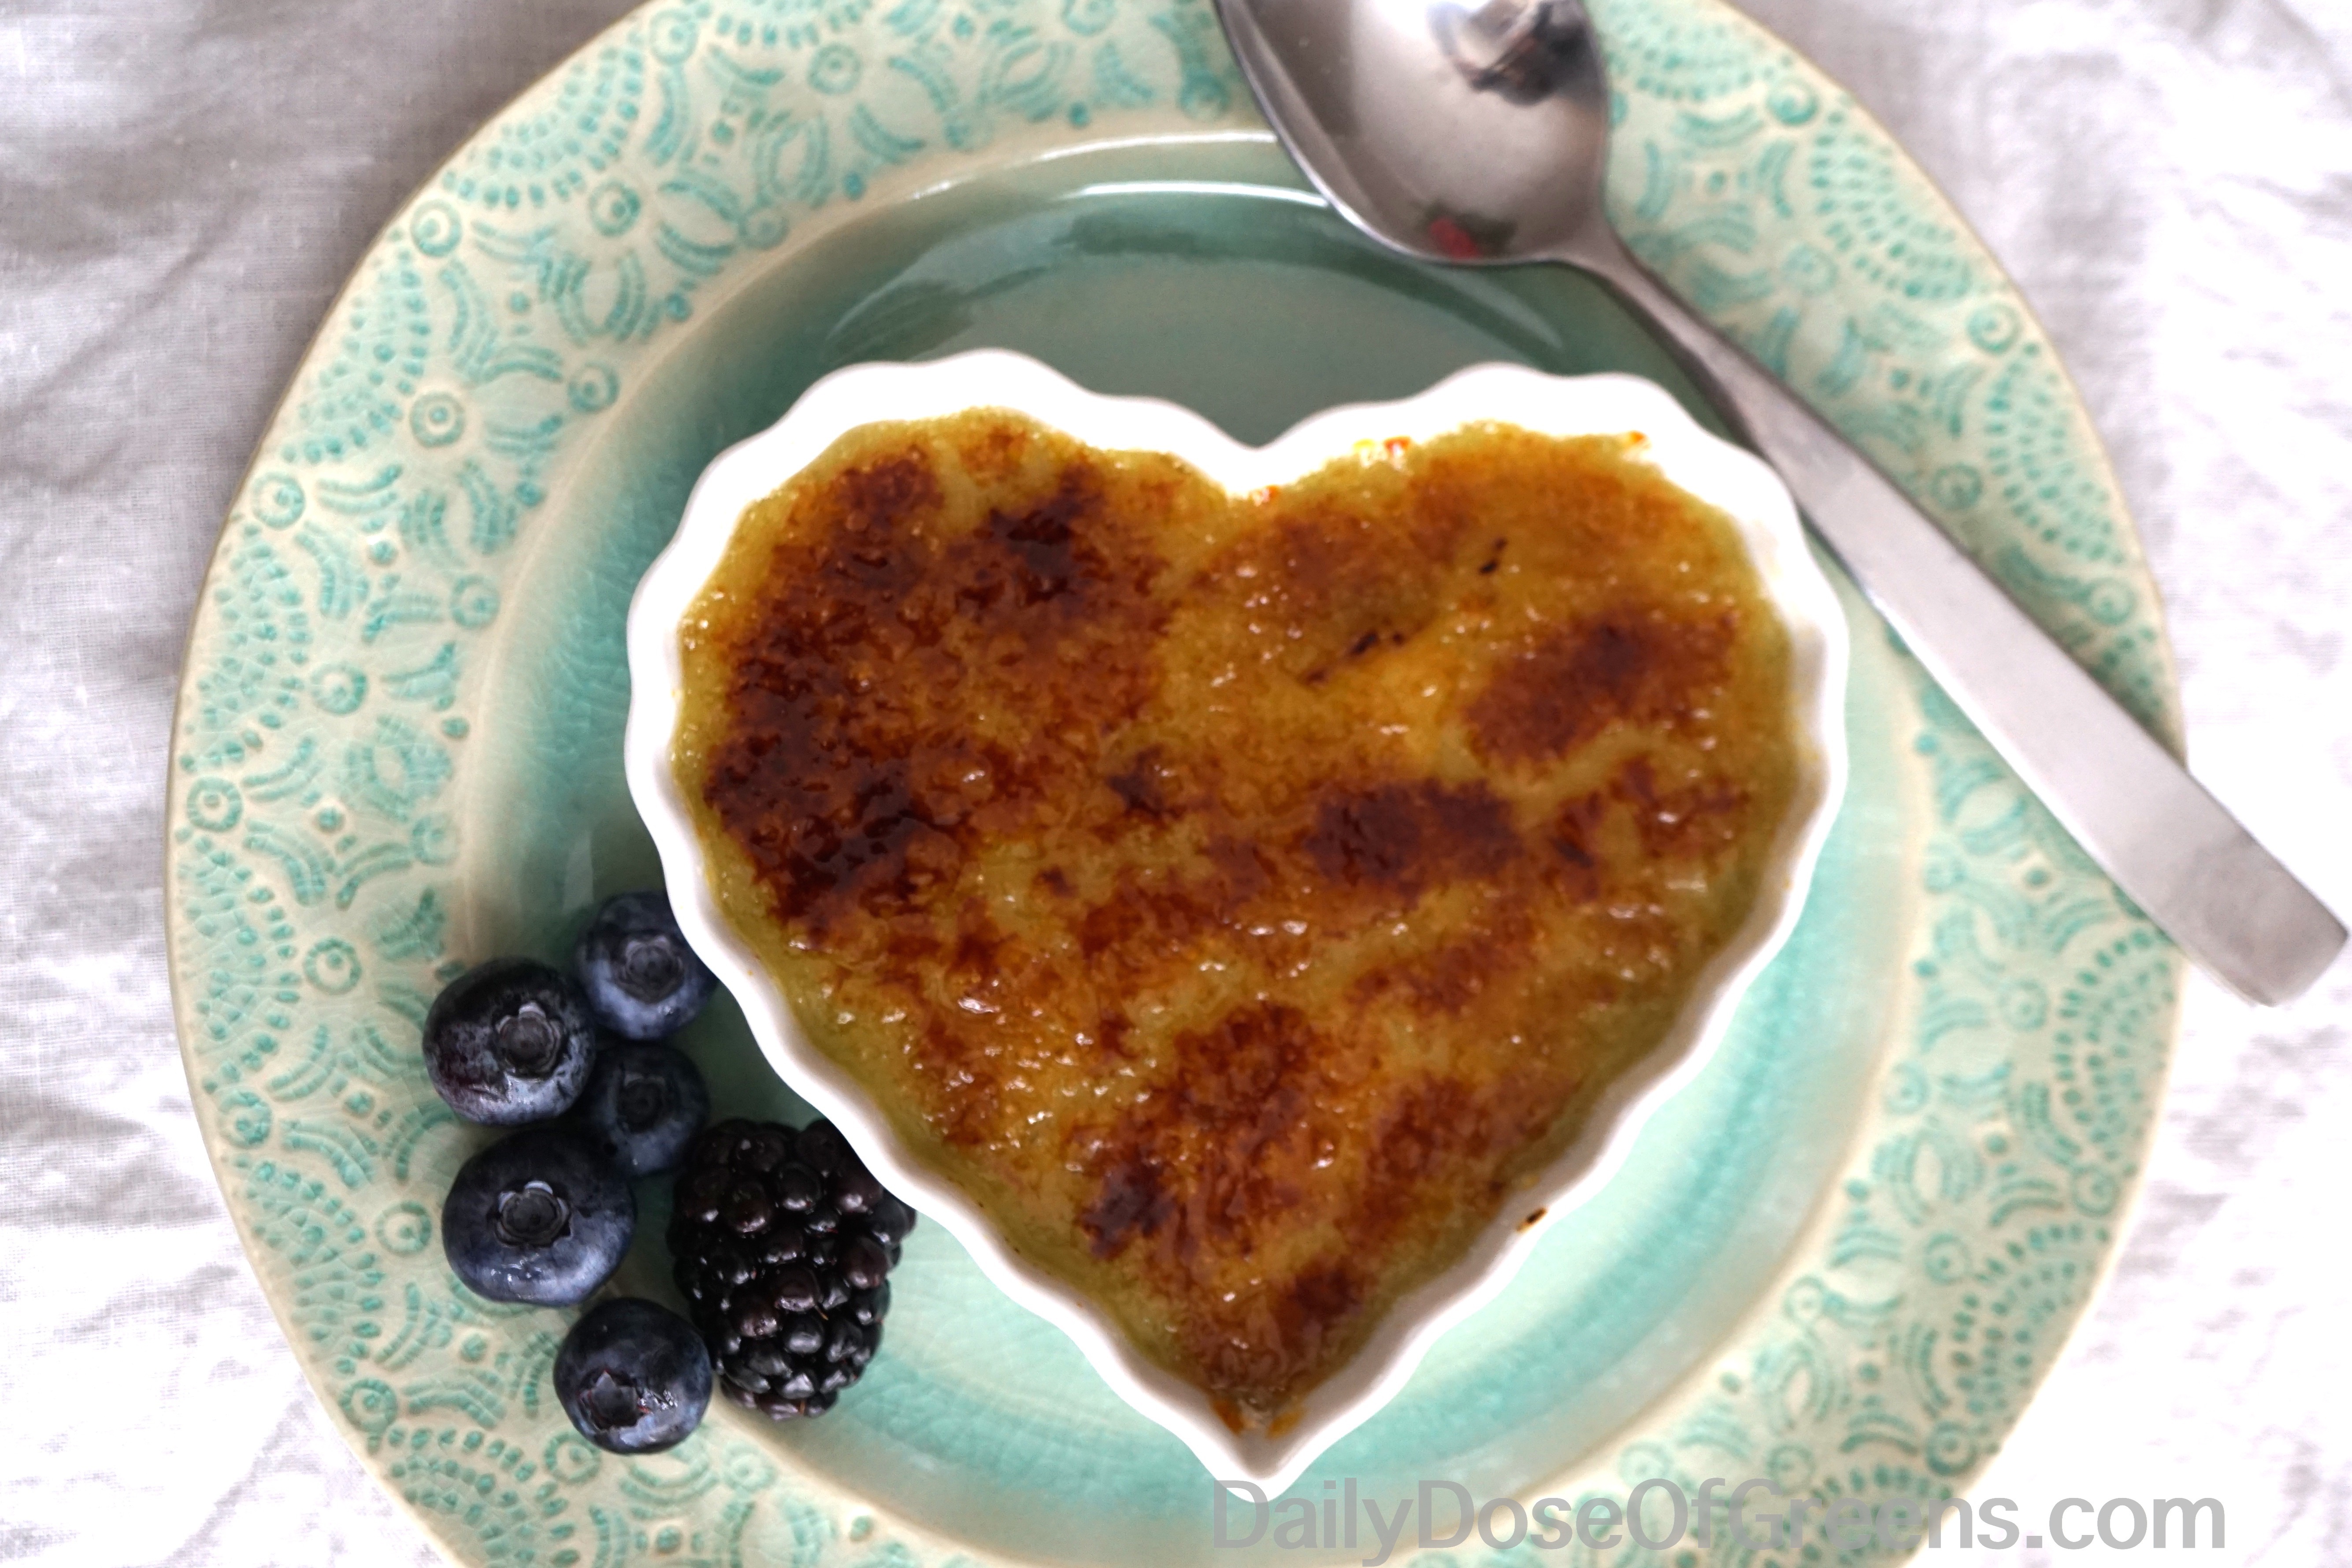
I decided to make a sweetened condensed milk out of full-fat coconut milk (canned and in the international aisle of the grocery store) and pure maple syrup. I then blended it with a ripe avocado, one Tablespoon of vanilla, and two Tablespoons of melted coconut oil. After pouring the mixture into 5 ramekins and letting them set in the fridge for an hour, I sprinkled a layer of organic cane sugar on top of each, then caramelized the sugar with my new torch (so fun!).
I was afraid I would be able to taste the avocado, but I can honestly say that I couldn’t! If you try this recipe and decide you can taste it, I recommend adding at least 2 Tablespoons of cocoa. Chocolate disguises flavors better than vanilla!
This recipe is dangerously easy! And don’t worry — no need to run out and buy a crème brûlée torch if you don’t already have one. You can caramelize the sugar by placing the ramekins close to a broiler, but watch them closely so you can pull them out before they burn!
- 1 can full-fat coconut milk
- ½ cup pure maple syrup
- 1 T. vanilla extract
- 2 T. melted coconut oil
- 1 ripe avocado, peel and pit removed
- 1-1/2 to 2 t. organic cane or raw turbinado sugar
- Optional: caviar (inner scrapings) of 1 vanilla bean
- Stir together the coconut milk and maple syrup in a small saucepan over medium heat. Bring to a boil, then reduce heat to low, stirring constantly or every minute or so. Continue cooking and stirring until mixture thickens slightly (like the viscosity of sweetened condensed milk), about 15 minutes.
- Remove saucepan from the heat and stir in the vanilla and coconut oil.
- In a blender, combine the avocado and saucepan contents until completely smooth. Pour blender contents into 5 small ramekins (about 6 ounces each), spreading to achieve a flat surface. Transfer ramekins to the fridge to set at least an hour.
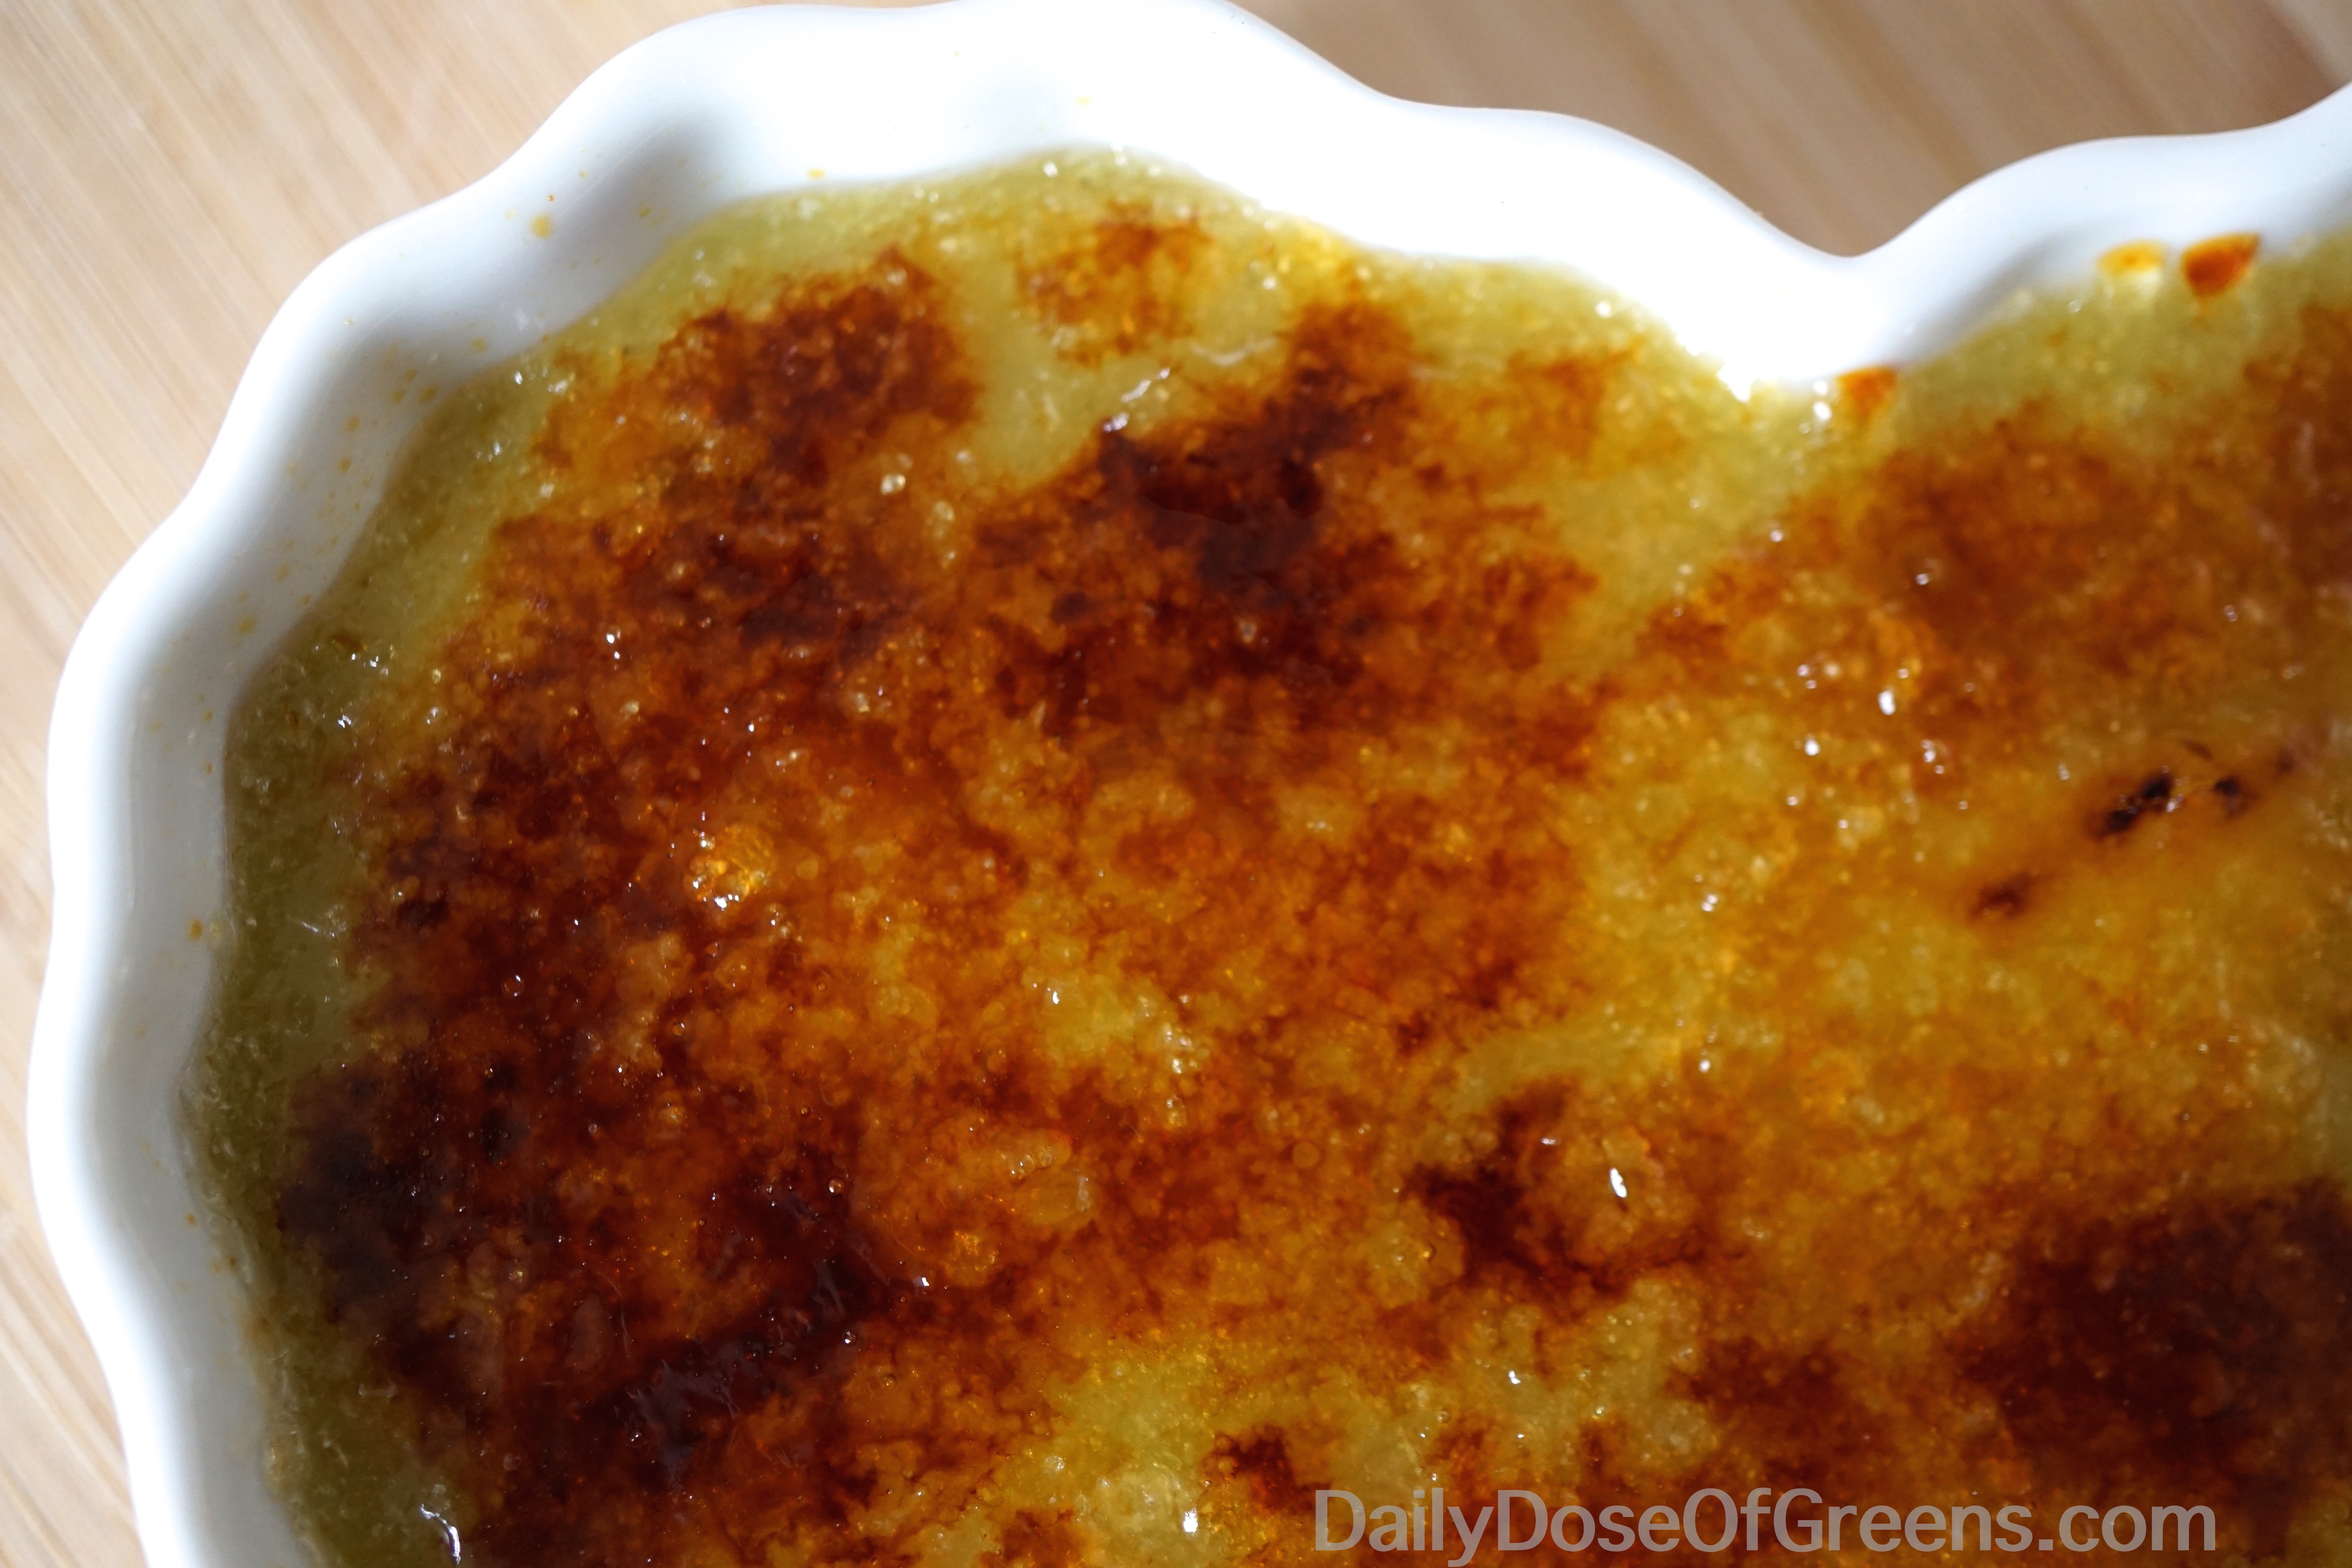
- When avocado custard is set, evenly sprinkle sugar on top of each crème brûlée until you can't see any green spots. Using a culinary torch, angled and about 2 inches from the sugar surface, caramelize the sugar by constantly waving the torch back and forth until no granules are visible and you achieve a golden, caramel color. Remember to keep the torch moving over different areas of the sugar surface to prevent burning. This process improves with practice! If you don't own a culinary torch, place ramekins close to the broiler for a few minutes until the sugar is caramelized (this may take some experimentation).
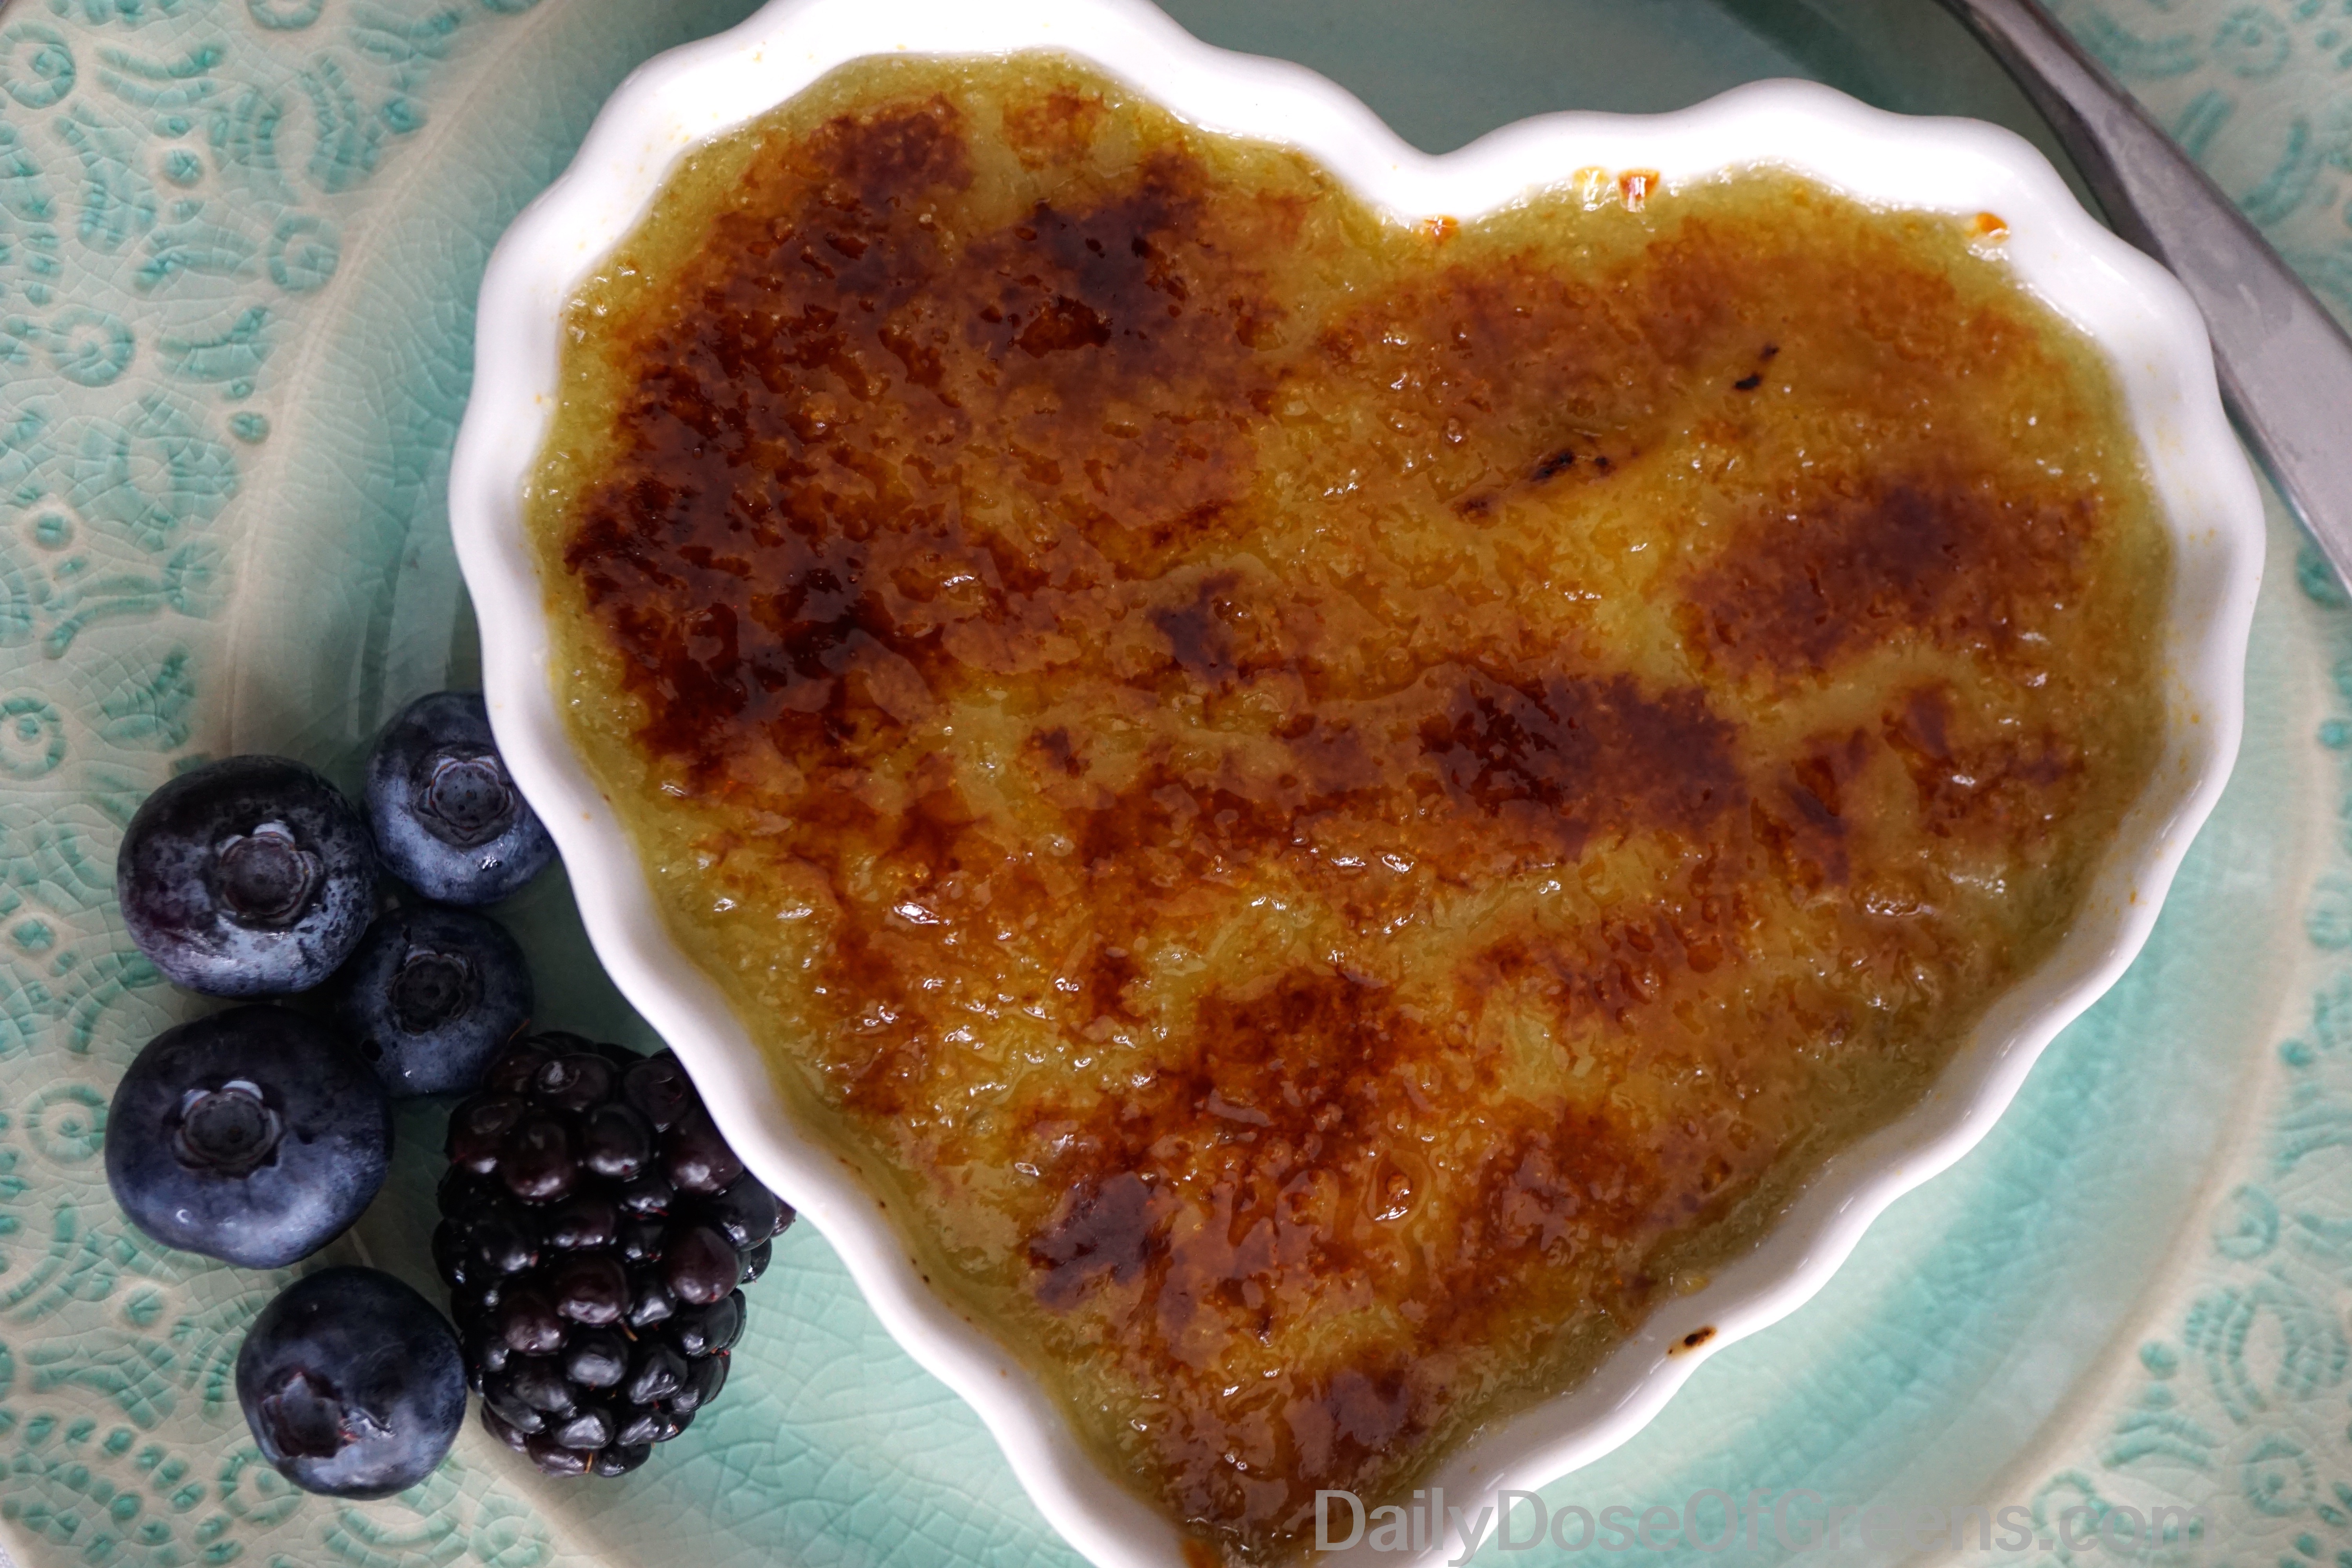
- Serve crème brûlées warm, or return them to the fridge to set more (they are heated and re-liquefied slightly by the torch/broiler). Enjoy!
The custard can be made up to one day ahead, but wait until you're within one hour of serving to caramelize the sugar topping. Over time it starts to dissolve and soften.
UPDATE: If you want to save time, you could also just put all ingredients except the sugar in the blender and blend until completely combined rather than using the saucepan to cook the coconut milk first. I have been using this method with similar results, although the custard is slightly more pudding-like. Still tastes great though!
Now this is a gourmet dessert!






Absolutely beautiful!
ummm this is ACTUALLY genius!
Wow, what an interesting idea!
Wow this is very interesting, love the recipe!
This looks incredible!!
we just might have to try some someday.